How to Cook BACON in the Oven WITHOUT a Mess: Easy Tips for Perfect, Crispy Results Every Time
I used to dread cooking bacon at home because of the splatters, greasy hands, and the never-ending cleanup. That all changed the day I learned how to bake bacon in the oven—no mess, no stress, and honestly, I’ve never looked back. If you want perfectly crispy bacon without the hassle, baking it in the oven on a lined pan is truly a game changer.
There’s something so freeing about being able to let the oven do the work while I sip my coffee and enjoy the scent of sizzling bacon. With just a few simple tools and ingredients, you can skip the greasy skillet and avoid those annoying splashes altogether. I can’t wait to share the steps I use every weekend, so you can turn your mornings into something you actually look forward to, just like I do.
Cooking bacon in the oven isn’t just easy, it leaves room for a little creativity—think custom flavors and golden slices ready to upgrade any meal. If you’re tired of the mess or just want breakfast to feel a little more special, this method is going to change the way you think about bacon mornings. For more tips, you can check out this helpful post about no mess, perfectly baked bacon.
Key Takeaways
Baking bacon in the oven keeps your kitchen clean.
Simple setup helps anyone get delicious, crispy results.
Little effort brings big rewards for breakfast or any meal.
Why Oven-Baked Bacon Is A Game Changer
I used to dread making bacon because it felt messy and time-consuming. Discovering oven-baked bacon changed the way I cook and clean up, helping me enjoy my favorite breakfast without hassle or splatter.
Benefits of Cooking Bacon in the Oven
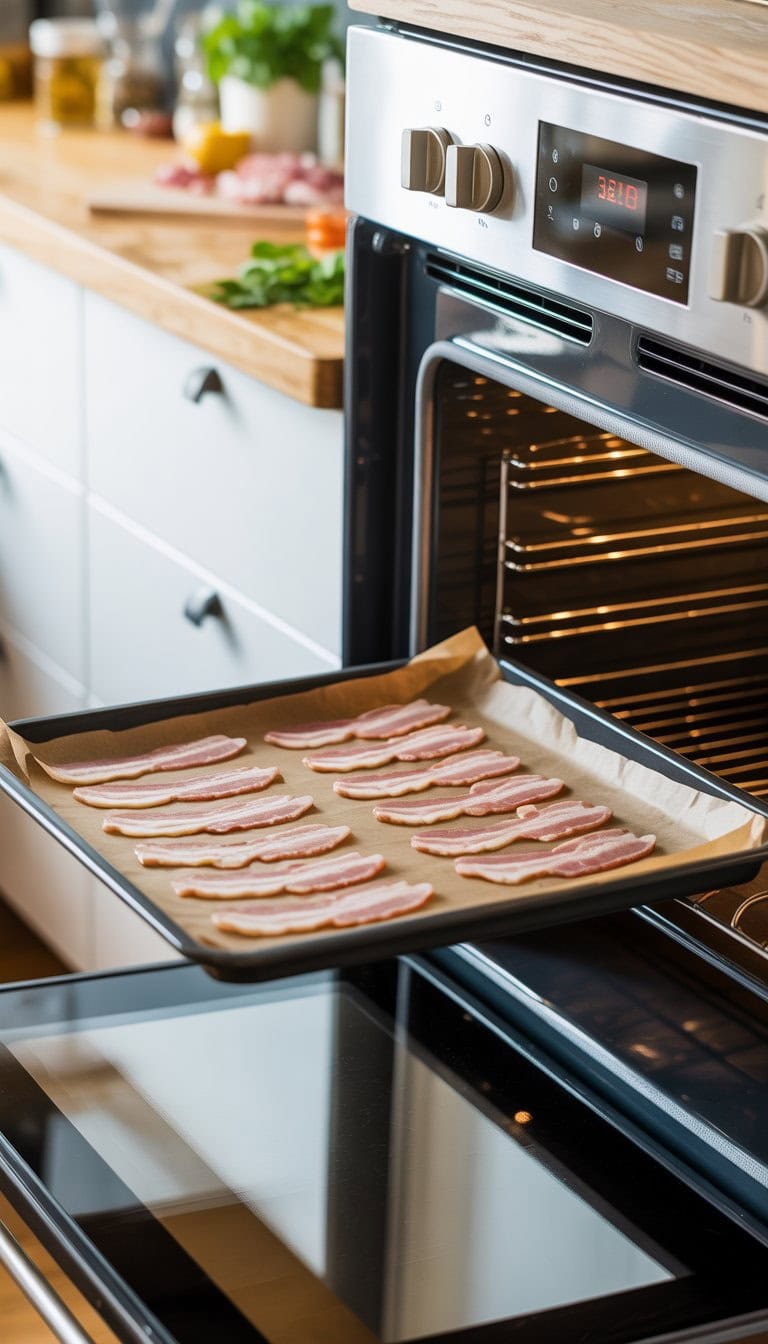
When I cook bacon in the oven, the process is so much easier and cleaner. I simply lay the bacon strips on a baking sheet lined with foil or parchment paper. There’s barely any grease splattering around my kitchen, which means I don’t spend extra time scrubbing the stovetop.
One of my favorite parts about oven baked bacon is the even crispiness. Every slice cooks at the same pace, so each piece comes out just as crispy as the last. There’s no need to flip or stand over the pan watching for burning edges. I just set a timer, and relax while the oven does the work.
Cleanup is also a breeze. Most of the grease stays on the lined tray, and I throw away the foil, leaving my pans clean. The oven method also gives me flexibility—I can cook a large batch at once, enough for family or meal prepping for the week. When I want the best crisp with the least mess, this is my go-to method. For more step-by-step reasons why it’s so easy, this guide shows how oven bacon keeps things tidy.
Differences Between Oven Baking and Other Methods
Cooking bacon on the stove is what I grew up with, but there are key differences. When using a skillet, grease pops everywhere, and the temperature can change fast, burning some pieces while leaving others chewy. By baking it, I get consistent results across every strip.
The oven also helps control the bacon smell. Instead of the strong scent lingering in my kitchen for hours, oven baking tends to contain it better. There’s also no need to hover or flip, so I can multitask—make toast, prep eggs, or just enjoy my coffee.
Oven baked bacon means no more managing hot grease or washing extra pans. I just use a single tray, so I finish with less mess, less stress, and more time to enjoy breakfast. If you want to compare the hassle, this no-mess baked bacon method explains the differences.
Essential Tools and Ingredients
Getting oven-baked bacon right comes down to the details. I always see better results when I use the correct type of bacon slices and a properly chosen baking sheet.
Choosing Bacon Slices for Best Results
I’ve tested all sorts of bacon slices—thick-cut, center-cut, and regular. Thick-cut bacon is less likely to burn during baking, and it gives each bite a nice chewy texture. Regular slices are thinner and crisp up faster, which I like for easy sandwiches.
I always check for bacon slices with steady marbling. Fat streaks help the bacon stay juicy and flavorful as it cooks, but too much can lead to extra grease. Center-cut bacon usually produces less grease but still tastes rich. If I want to avoid mess, I separate the slices on the tray so they don’t overlap. This helps the bacon cook evenly and stay crispy.
A quick tip: lay the bacon flat, and try to use slices of similar size and thickness, so everything cooks at the same rate. If I’m meal prepping for the week, buying thick-cut slices in bulk makes things easier.
Selecting the Right Baking Sheet
The baking sheet is a game-changer. I use a large rimmed baking sheet to catch bacon grease and prevent spills in the oven. Sheets with raised edges are perfect for preventing a mess during baking.
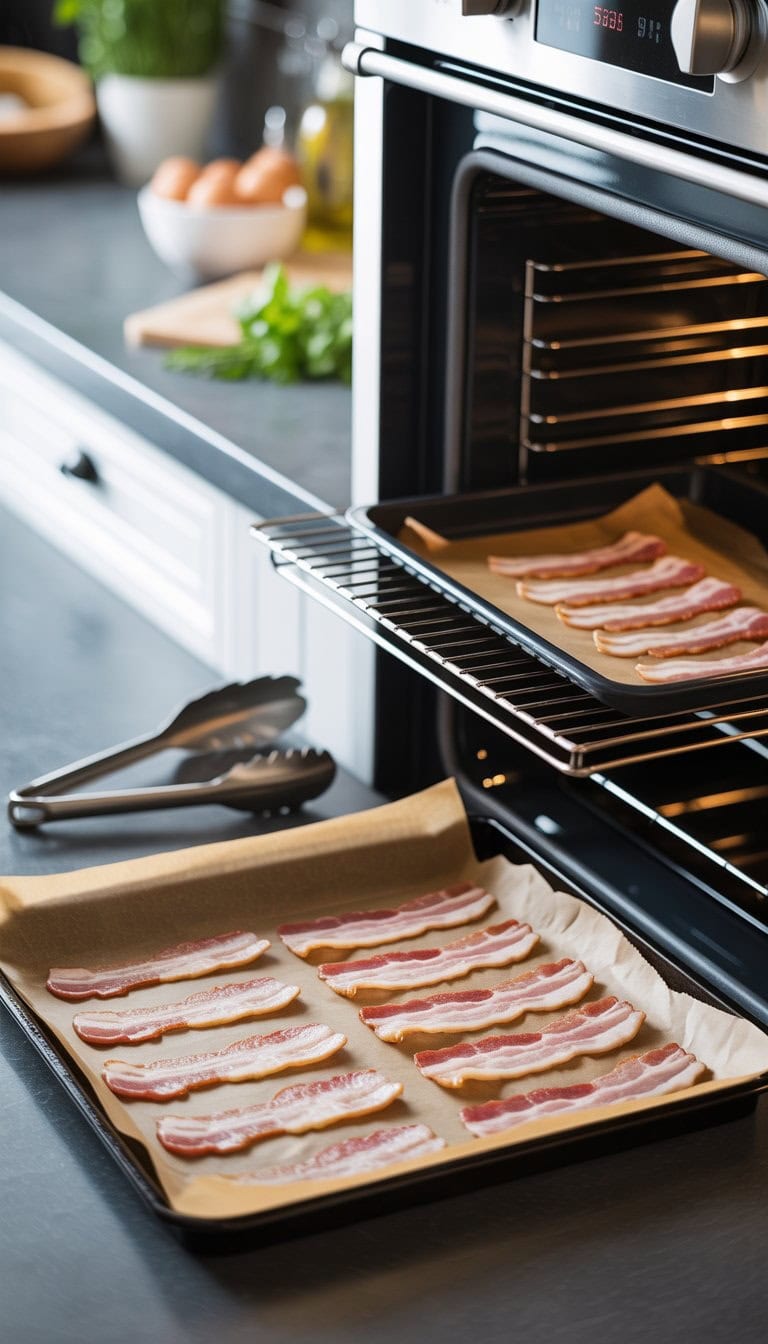
Sometimes, I cover the sheet with parchment paper or aluminum foil, which makes cleanup simple. Lining the tray also helps the bacon cook more evenly. For extra-crispy results, I place a wire rack on top of the lined baking sheet and lay my bacon slices across the rack. This lets hot air circulate and keeps the bacon from sitting in grease, as shown in the oven-cooked bacon method.
If I cook a large batch, I use two sheets and switch their positions halfway through baking. Having the right baking sheet means I spend less time scrubbing and more time enjoying crispy bacon.
Step-By-Step Guide: How to Cook Bacon in the Oven Without a Mess
Cooking bacon in the oven is simple, neat, and gives you crispy results every time. I always find it easier and less stressful than frying on the stovetop. With just a few careful steps, I can avoid splatters and make cleanup a breeze.
Preparing Your Baking Sheet for Minimal Cleanup
First, I grab a large rimmed baking sheet—these help keep the bacon grease from spilling. Then I line the entire sheet with heavy-duty aluminum foil so it covers every edge. This trick catches all the drips and bits, saving me from scrubbing stuck-on grease.
Sometimes, I add a layer of parchment paper over the foil. Parchment not only stops sticking but also absorbs extra grease, making the bacon super crisp and even easier to lift off. When the bacon is done, I just lift out the foil and parchment, and the pan looks almost clean underneath.
If you want to avoid extra waste, you can even reuse the foil for a second batch. Either way, using these liners is the quickest route to a no-mess bacon experience. For tips on this setup, check out these steps from Everyday Cheapskate.
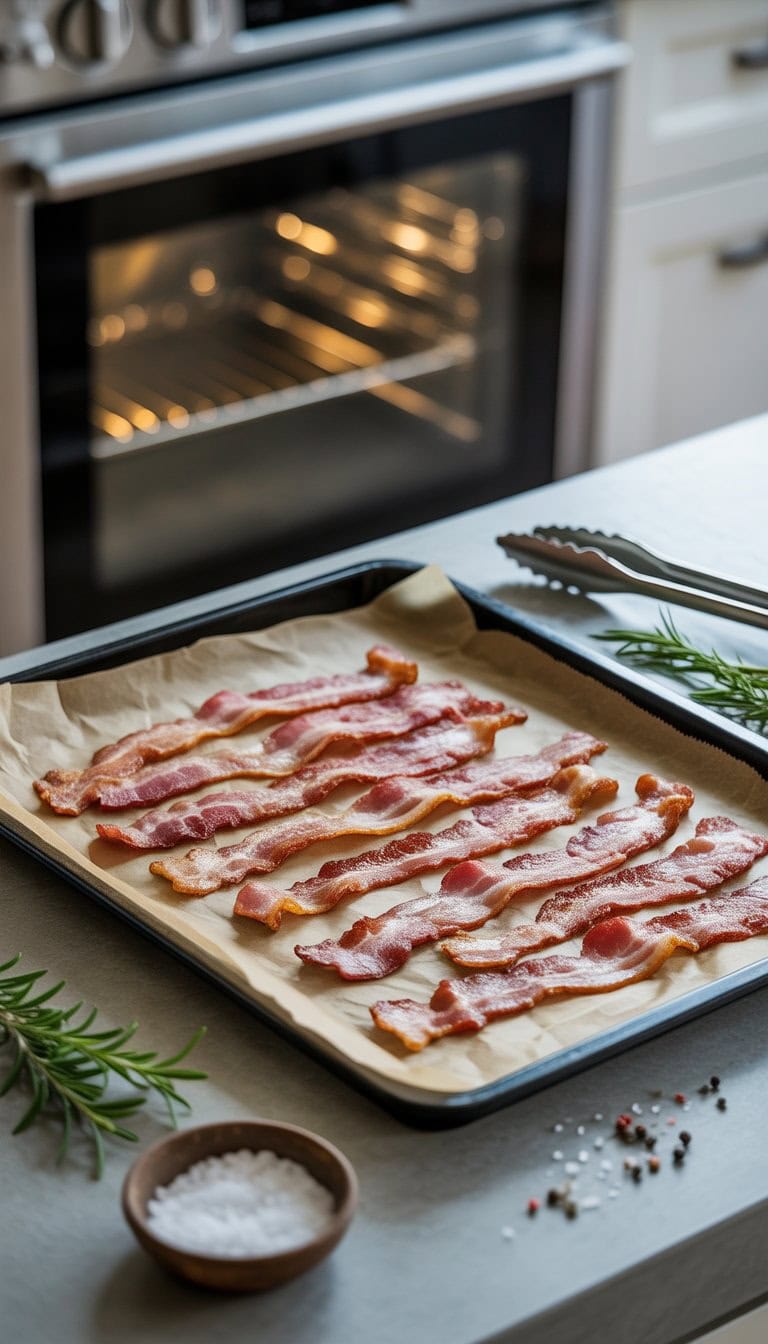
Arranging and Spacing the Bacon
I always spread my bacon in a single, even layer. No overlapping—overlapping keeps slices from cooking evenly, and crowded pieces end up soggy and greasy. Careful spacing means the hot oven air can move around each slice, so everything gets that perfect golden crunch.
For thick-cut bacon or a big batch, I might use two baking sheets. Switching their positions halfway through cooking helps everything crisp up. If I want less greasy bacon, I’ll sometimes use an oven-safe rack on the pan. This lets extra fat drip down for leaner slices, though some people prefer a little extra moisture.
Laying bacon flat also helps it keep its shape. No curly, shriveled edges—just nice, neat strips. Whenever I’m prepping for breakfast or a tasty BLT, this trick makes a big difference.
Ideal Baking Temperatures and Timing
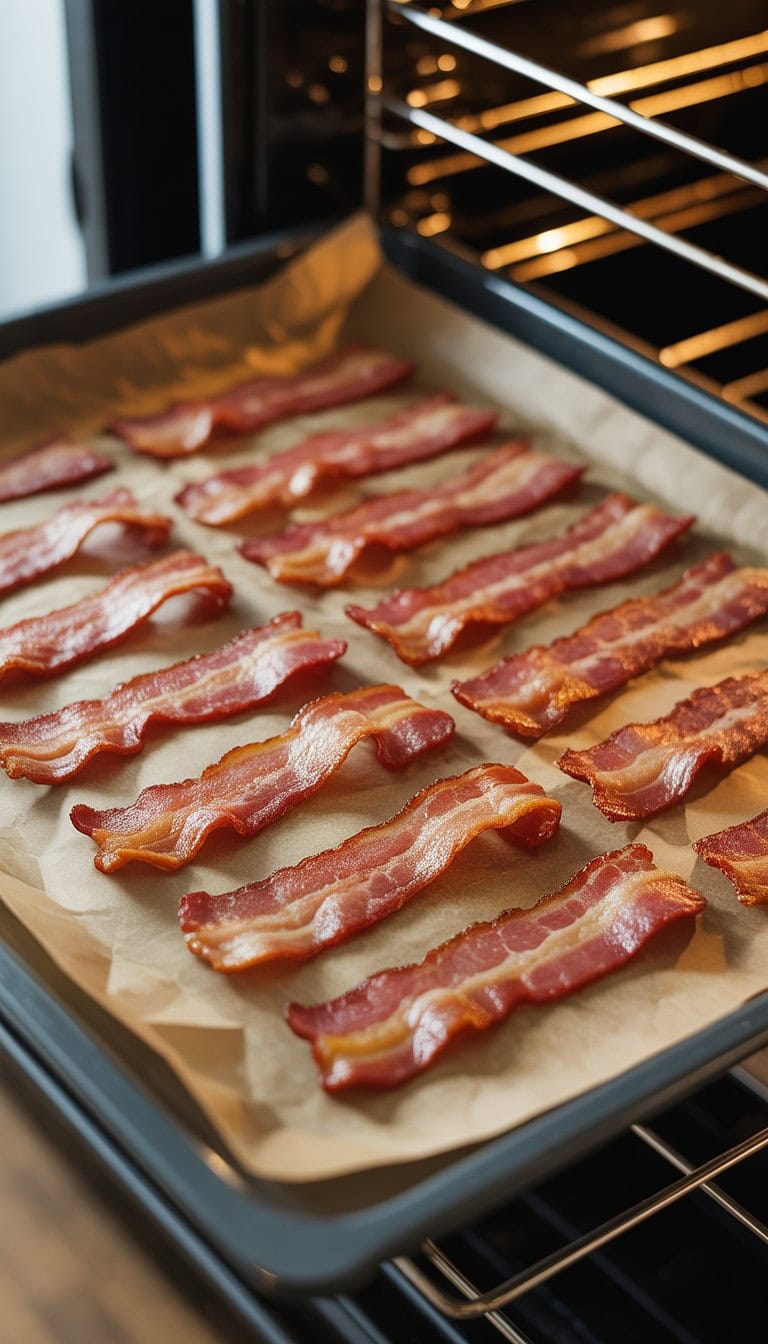
Preheating the oven is important. I set mine to 400°F for classic bacon slices. At this temperature, the bacon cooks quickly and evenly, usually in 15 to 20 minutes. Thinner bacon can cook in about 12 minutes, while thick-cut pieces might need up to 25 minutes.
It’s important to check the bacon a few minutes before you think it’s done. Ovens can run hot or cold, and nobody wants burned bacon. If I’m cooking a really big batch, I rotate the pan halfway through to make sure everything browns evenly.
When it’s finally crisp, I use tongs to move the strips to a plate lined with paper towels. This helps soak up extra grease so the bacon stays crispy and not greasy. For more suggestions on baking temperatures, see advice from Downshiftology and Allrecipes.
Getting Your Desired Crispness
Finding just the right crispness for bacon is all about small adjustments and knowing what to look for as it cooks. I always trust my eyes and nose, but timing and a few simple tricks make a huge difference when aiming for perfectly cooked bacon.
Monitoring and Adjusting Bake Time
I keep a close eye on the bacon once it starts sizzling. Whether I like it chewy or very crispy, checking a few minutes before the end of the suggested bake time is key. For bacon that’s more chewy, I usually need about 15 minutes at 400°F. If I want my bacon extra crispy, I leave it in for up to 20 minutes.
The thickness of the bacon also matters a lot. Thick-cut pieces need a bit longer while thin slices cook faster. I never walk away during the last few minutes; that’s when bacon can go from perfect to burnt quickly. Using this oven method, I rotate the pan halfway through to ensure an even cook on all sides.
Tips for Perfectly Cooked Bacon Every Time
I always line my baking tray with foil or parchment paper for easy cleanup and to keep the mess contained. The bacon strips shouldn’t be crowded or overlap—airflow helps every piece cook evenly and turn crispy.
After baking, I place the bacon on a plate lined with paper towels. This helps soak up extra grease for a crispier finish. If I’m cooking for a crowd and need to keep the bacon hot, I set my oven to the lowest setting and lay the bacon on a wire rack inside.
A simple table helps me remember cooking times:
Desired Crispness
Bake Time (400°F)
Chewy
12-15 minutes
Crispy
16-20 minutes
Extra Crispy
20+ minutes
By following these steps and adjusting as needed, I always end up with bacon that meets my ideal level of crispiness.
Flavor Boosts: Customizing Oven-Baked Bacon
I’ve tried many ways to make oven-baked bacon even better. By adding glazes or spices, I can change up the flavor to match any mood or meal. These tricks help me create bacon that stands out without making extra mess.
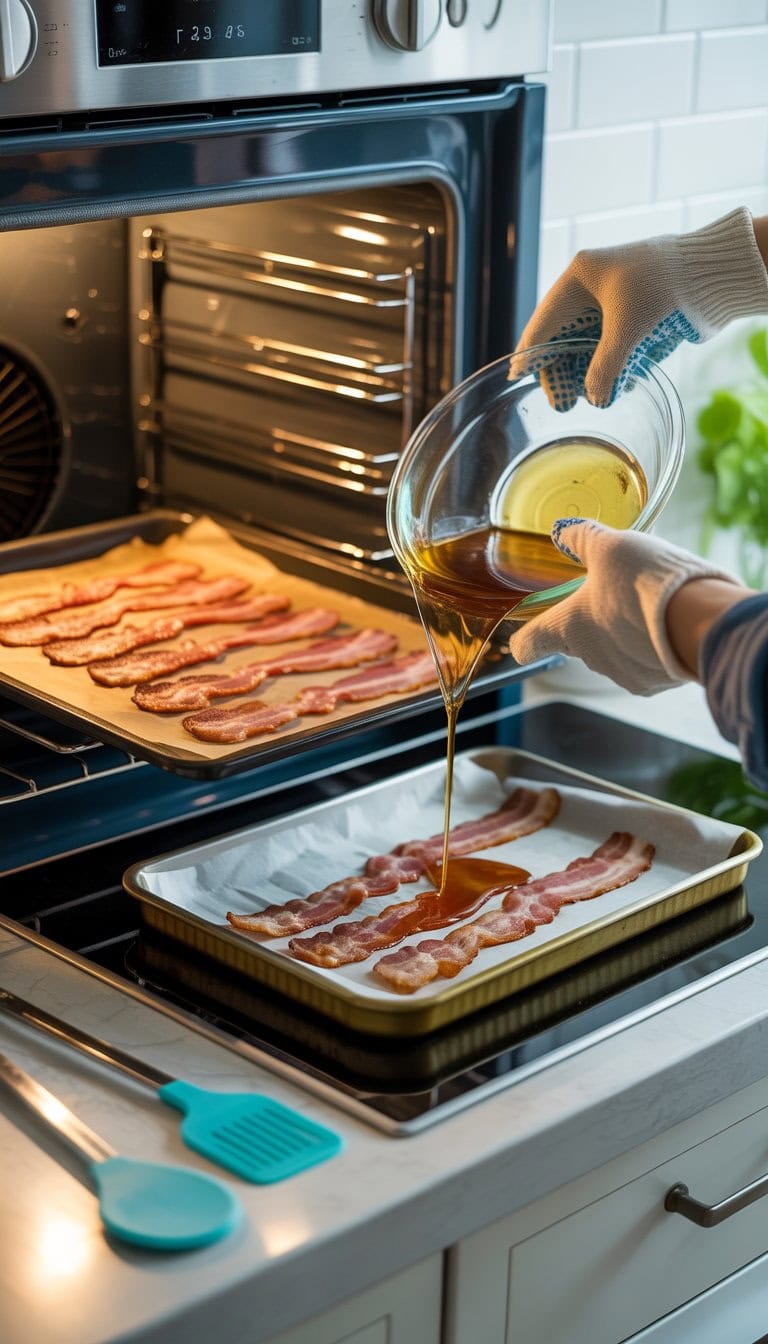
Adding Maple Syrup and Other Glazes
When I want a sweet touch, I brush maple syrup over my bacon slices before they go into the oven. This gives the bacon a shiny, caramelized finish and a rich, sweet flavor. Sometimes I swap maple syrup for honey or brown sugar if I want something a little different.
Mix 2 tablespoons maple syrup, brown sugar, or honey with a dash of water if needed.
Brush one side of each bacon strip.
Bake at 400°F for 14-18 minutes, watching carefully so the glaze doesn’t burn.
The glaze bubbles in the heat, sticking to the bacon for a glossy coat and a sweet taste. Once out of the oven, the bacon will crisp up as it cools. For more guidance, this method works well with most natural sweeteners.
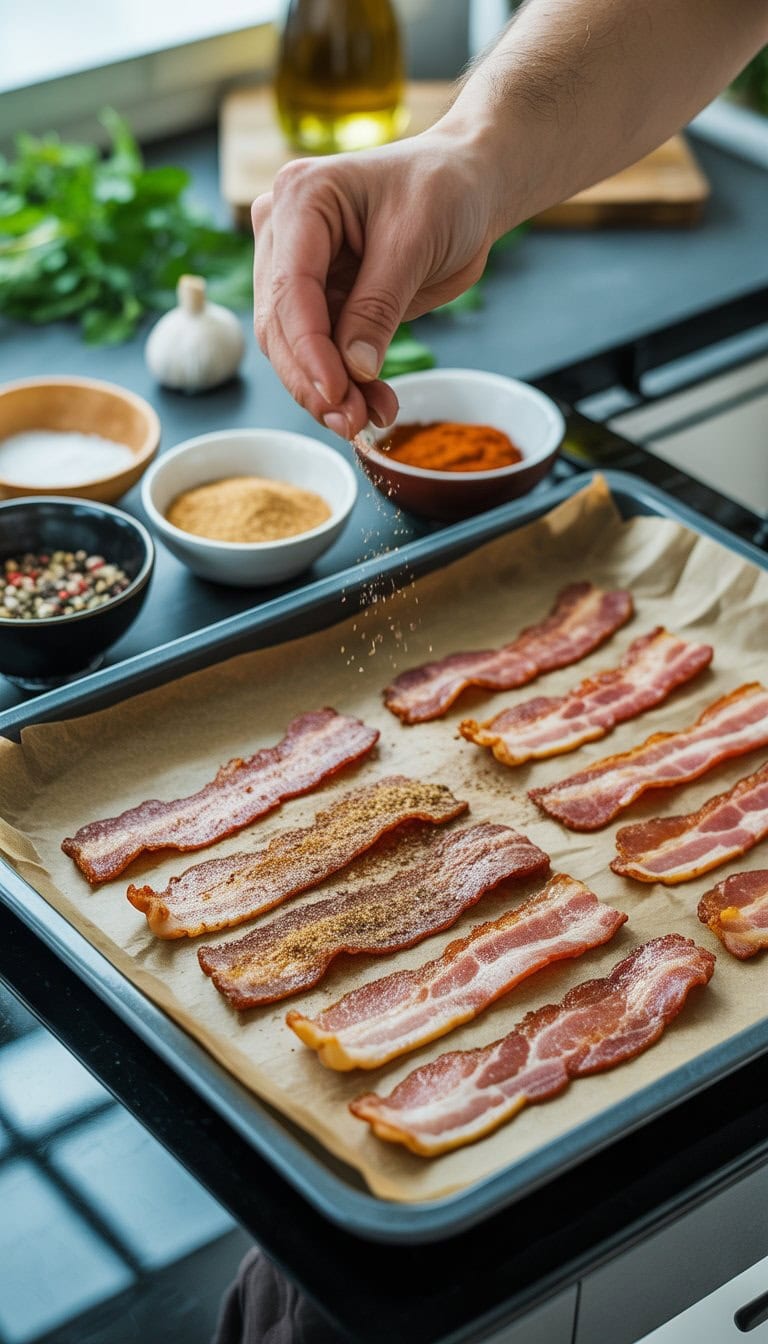
Infusing Bacon with Spices and Seasonings
For a savory twist, I love to sprinkle on spices before cooking. Black pepper, smoked paprika, or even chili powder work great. I keep my spices simple and stick to 1/2 teaspoon per strip so the flavor doesn’t overpower the bacon.
A basic spice mix I use looks like this:
Spice
Amount per 4 slices
Black Pepper
1 teaspoon
Smoked Paprika
1 teaspoon
Chili Powder
1/2 teaspoon
Garlic Powder
1/2 teaspoon
I lay out the bacon and sprinkle my mix evenly, then bake as usual. For extra heat, I add a pinch of cayenne. The spices get toasted in the oven, which gives the bacon a bold, layered flavor. This way, each bite has a kick and a unique taste without creating extra work in the kitchen.
Handling Bacon Fat and Grease Safely
I always try to be careful with bacon grease because it can get messy and even cause kitchen accidents. Knowing how to save or dispose of bacon fat the right way keeps my kitchen cleaner and safer every time I make bacon in the oven.
Saving and Storing Bacon Grease
Whenever I cook bacon, I like to save the leftover grease. Bacon fat can add rich flavor to so many recipes, like eggs or roasted vegetables.
After my bacon finishes baking and cools a bit, I carefully pour the liquid fat into a clean, heatproof jar or tin. I use a fine mesh strainer or a paper towel to filter out the crispy bits, so my stored fat stays fresh longer. It’s important to never use a plastic container while the grease is still hot since it could melt or warp.
Once my jar is filled, I let it cool completely at room temperature before covering and storing it in the fridge. Bacon grease lasts for several weeks when refrigerated and even longer if I freeze it in small batches. I always remember to label the jar so I know when it was made and what it is.
Easy Cleanup Tips for Bacon Fat
When I want easy cleanup after baking bacon, I line my baking sheet with aluminum foil or parchment paper. This catches the bacon grease as it drips, making cleanup simple and keeping the pan from getting coated in hardened fat.
After I finish baking, I let the bacon fat cool and solidify for a few minutes. Then, I gather the foil or paper and fold it up around the cooled grease, making sure nothing drips out. I throw this bundle into the trash instead of pouring grease down the sink, which could clog pipes and cause problems. For an even neater job, some people use a slotted rack over the pan, which helps the fat drip off and keeps bacon extra crisp, as noted in oven-cooked bacon guides.
If my baking pan still feels greasy, I use hot water with dish soap and let it soak a few minutes before scrubbing. Taking these small steps always keeps my kitchen cleaner and helps me avoid greasy messes.
Creative Ways to Use Oven-Baked Bacon
Oven baked bacon comes out crispy and full of flavor, so it’s fun to use in all sorts of ways. I’ve found that it can change up the flavor and texture of common meals, making each bite better and a little more special.
Incorporating Bacon into Favorite Dishes
When I make a BLT, I always reach for oven baked bacon. The slices stay flat and crunchy, which works better than pan-fried for sandwiches. I’ll also crumble the bacon over salads, like a classic Cobb or a Caesar, for extra savoriness and crunch.
My family loves bacon wrapped around asparagus or chicken before roasting. It adds juiciness and a salty kick. For breakfast, I sometimes chop bacon and mix it into scrambled eggs or top a stack of pancakes with small crispy pieces for a sweet and salty treat.
Adding oven baked bacon to pasta dishes, like carbonara or macaroni and cheese, always makes them richer. I keep cooked strips in the fridge so I can break them into smaller bits for baked potatoes, soups, and even homemade pizza. The taste and texture really stand out in every bite. If you want more ideas on the best bacon for these recipes, check out these oven baked bacon tips.
Frequently Asked Questions
I know a mess-free kitchen feels amazing, especially after making bacon. I focus on real methods that keep my pans clean, my bacon extra crispy, and all the grease under control.
What’s the secret to cooking perfectly crispy bacon in the oven?
Consistency is my best friend here. I always preheat my oven to 400°F, line my pan with parchment paper, and lay the bacon in a single layer. This way, every strip crisps up evenly without curling or burning.
Can I achieve no-splatter bacon in the oven without using foil or parchment paper?
I’ve found it’s possible, but cleaning up afterwards is harder. Grease will stick right to the pan, making scrubbing almost certain. Using foil or parchment not only helps avoid splatter, but also makes cleanup much easier. For tips, I often check out the oven fried bacon method.
What are the pro-tips to reduce mess when cooking bacon with a rack in the oven?
Placing the bacon on a rack lets fat drip below, so it doesn’t sit in grease. I always set the rack over a lined pan to catch drips. Keeping the rack a little elevated helps with airflow and even crisping, too.
How long should bacon be cooked in the oven to guarantee flawless results?
For me, 15 to 25 minutes at 400°F is the sweet spot. Thin slices may be ready faster, so I check them at 12 minutes. For thicker bacon, it sometimes takes a bit longer. I always watch closely in the last few minutes.
Is it possible to get the crispiest bacon in the oven without foil, and if so, how?
Yes, but I know I’ll have more cleanup to do. I just lay the bacon straight on the pan or rack. The bacon crisps, but sticking and burned bits are normal. Many prefer using parchment paper or foil to make life easier.
What’s the best way to handle grease when cooking bacon in the oven to keep things tidy?
When I’m done, I let the pan cool first. I roll up and toss the parchment or foil with most of the grease inside. If there’s extra liquid fat, I pour it into a jar to use for cooking later, or I throw it away safely. This keeps my counters and oven clean.