Disclaimer: We only recommend products or services that we believe will add value to our readers. By using these affiliate links, we’ll receive a commission if you purchase through our link, at no extra cost to you. Please read full disclosurehere
Sometimes, I just need a creative escape—a little project that lets my hands get messy and my mind unwind. That’s why I love working with clay, especially on a small scale. There’s something special about turning a simple lump of clay into something unique and beautiful. These little projects fit right into my busy schedule, and every finished piece gives me a sense of accomplishment.
Whether you’re a beginner or a seasoned maker, small clay projects let you explore your creativity and make cute, functional art with your own personal touch. I find joy in giving my pieces as handmade gifts or adding them to my home décor for a heartwarming detail. The possibilities are endless, and every time I start a new one, I’m reminded how a bit of clay and a spark of inspiration can brighten my day.
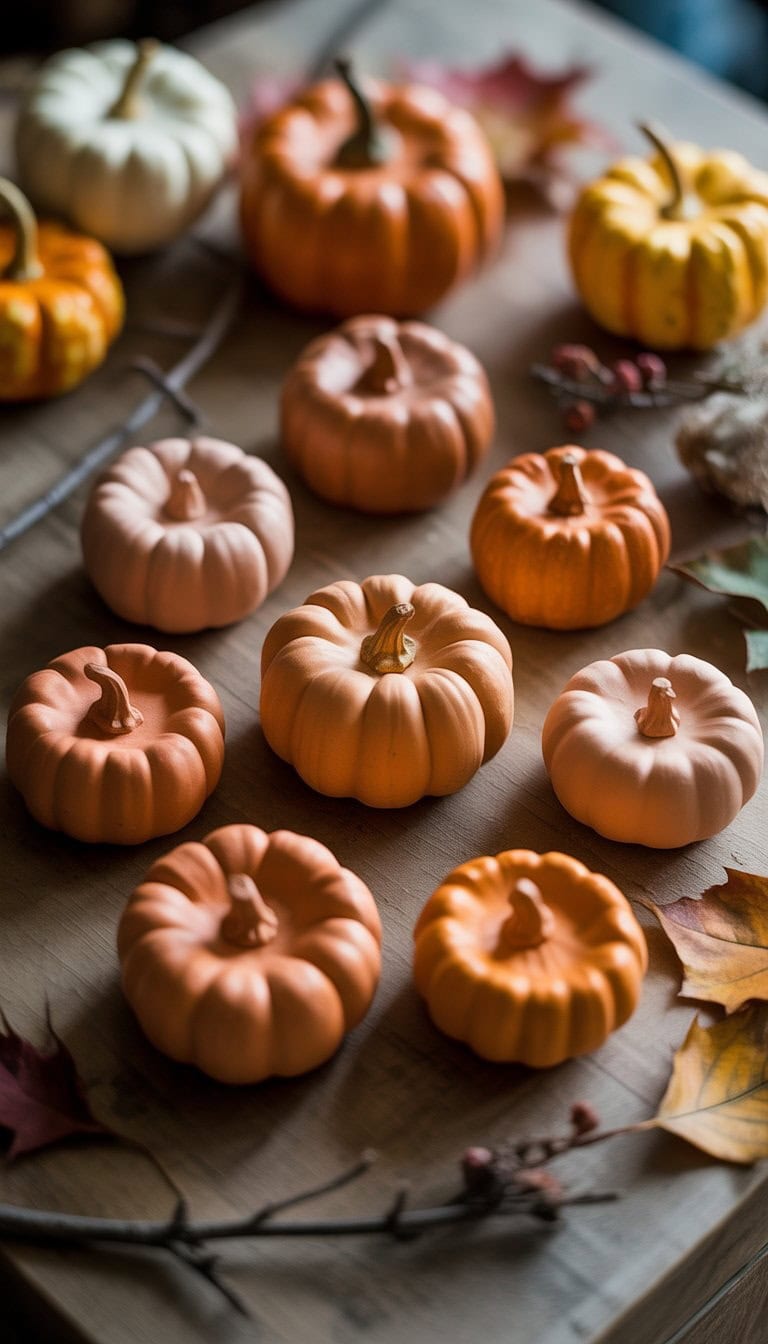
Mini Pumpkin Clay Bowls
I love making mini pumpkin clay bowls in the fall. They are cute, simple, and great for holding little things like rings or keys. Using air drying clay or polymer clay works well for this project.
I start by shaping a small ball and gently pressing it into a bowl shape. Then I use my fingers or a tool to make pumpkin ridges on the sides.
A little clay stem adds a nice touch. I paint them orange and let them dry. These bowls always remind me of autumn decorating and can even work as a fun craft with kids.
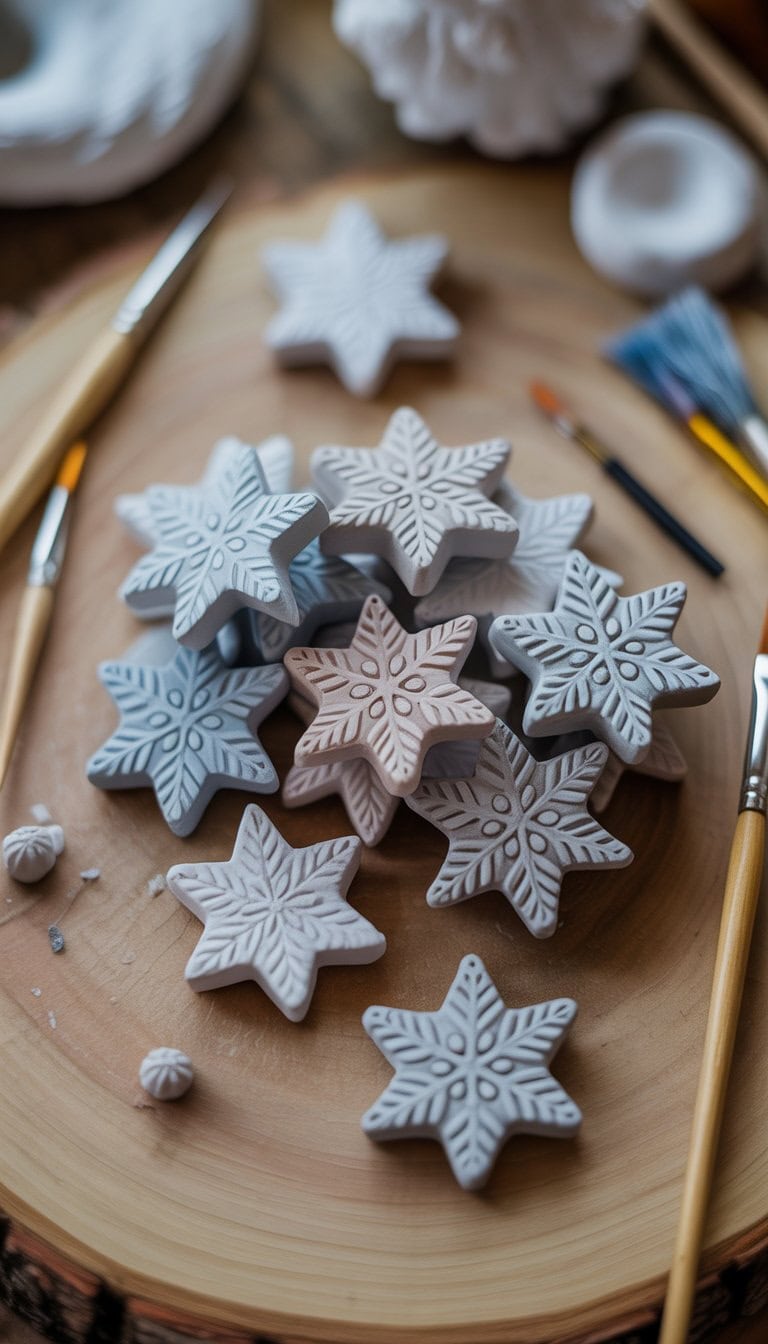
Clay Snowflake Ornaments
I love making clay snowflake ornaments because they are easy and fun. The process is simple, and I can make them with my kids or by myself.
First, I grab a piece of clay and knead it to make it soft. Then I roll it out flat and use a snowflake cookie cutter to shape the clay. I add a hole at the top for hanging.
After they dry, I paint or decorate them as I like. These ornaments make great gifts or simple holiday decorations. If you want tips and more ideas, I found some clear instructions for clay snowflake ornaments at DIY in PDX’s tutorial.
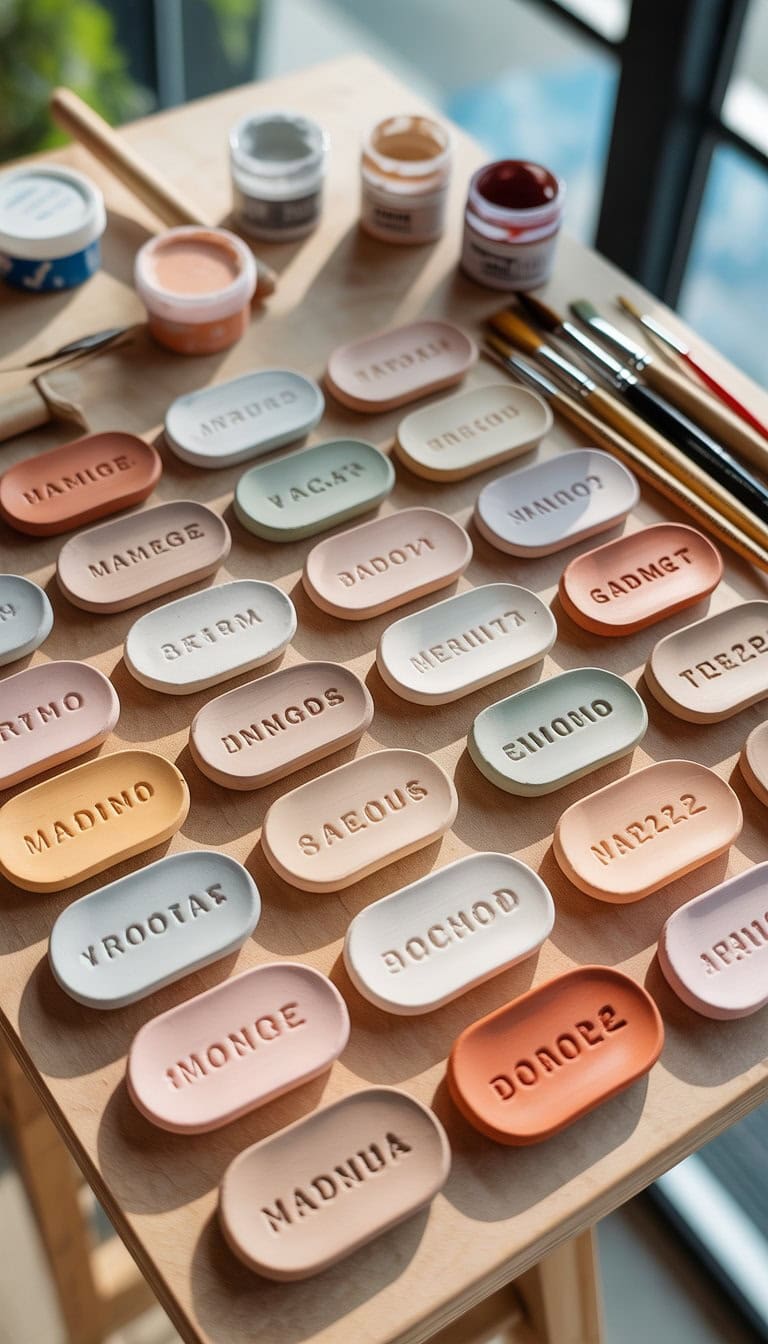
Personalized Clay Name Tags
I love making personalized clay name tags for gifts. These tags add a special touch that feels thoughtful and fun. I just roll out some clay, cut out tag shapes, and press in names or short messages.
Sometimes I use metal stamps to get crisp letters, or I simply carve with a toothpick. After drying or baking, I tie the tags onto gift bags with twine or ribbon.
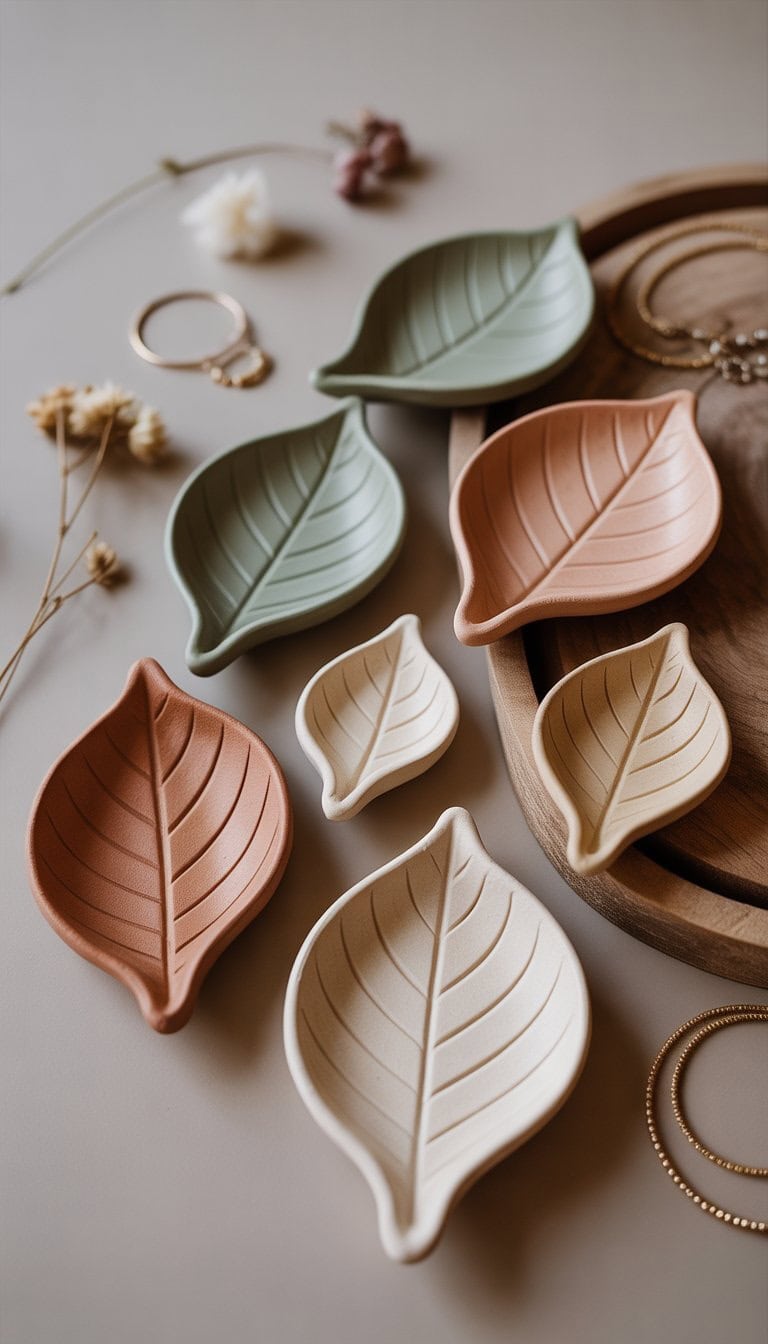
I love making clay leaf trinket dishes because they bring nature right into my home. I usually pick interesting leaves from outside, then press them into soft clay to create beautiful textures.
After shaping the clay, I let it dry or bake it, depending on the type I’m using. These dishes are handy for holding jewelry, keys, or tiny keepsakes.
It’s easy to get creative with different types of leaves and clay colors. If you want more tips, I found a simple tutorial on how to make autumn leaf clay trinket dishes that is great for beginners.
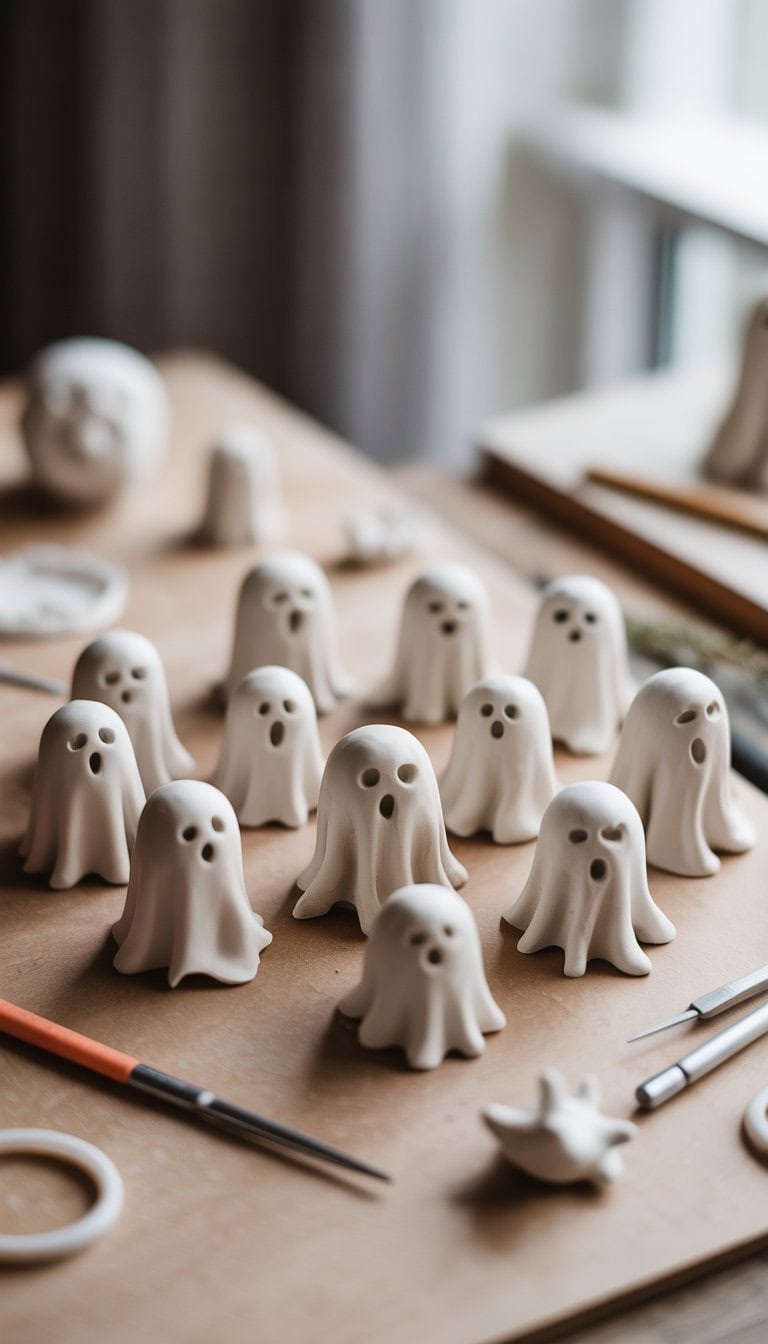
DIY Clay Ghosts
I love making clay ghosts because they’re simple and fun. All I need is some air dry clay and a little imagination. I just shape a small mound, pinch up the top for the head, and add cute eye holes.
Sometimes I paint them white or even add tiny details with acrylics. I even tried making spooky families of ghosts for Halloween. If you want a fun twist, try using floral designs or napkins to decorate them.
This project is great for beginners or anyone who wants a quick, creative clay idea.
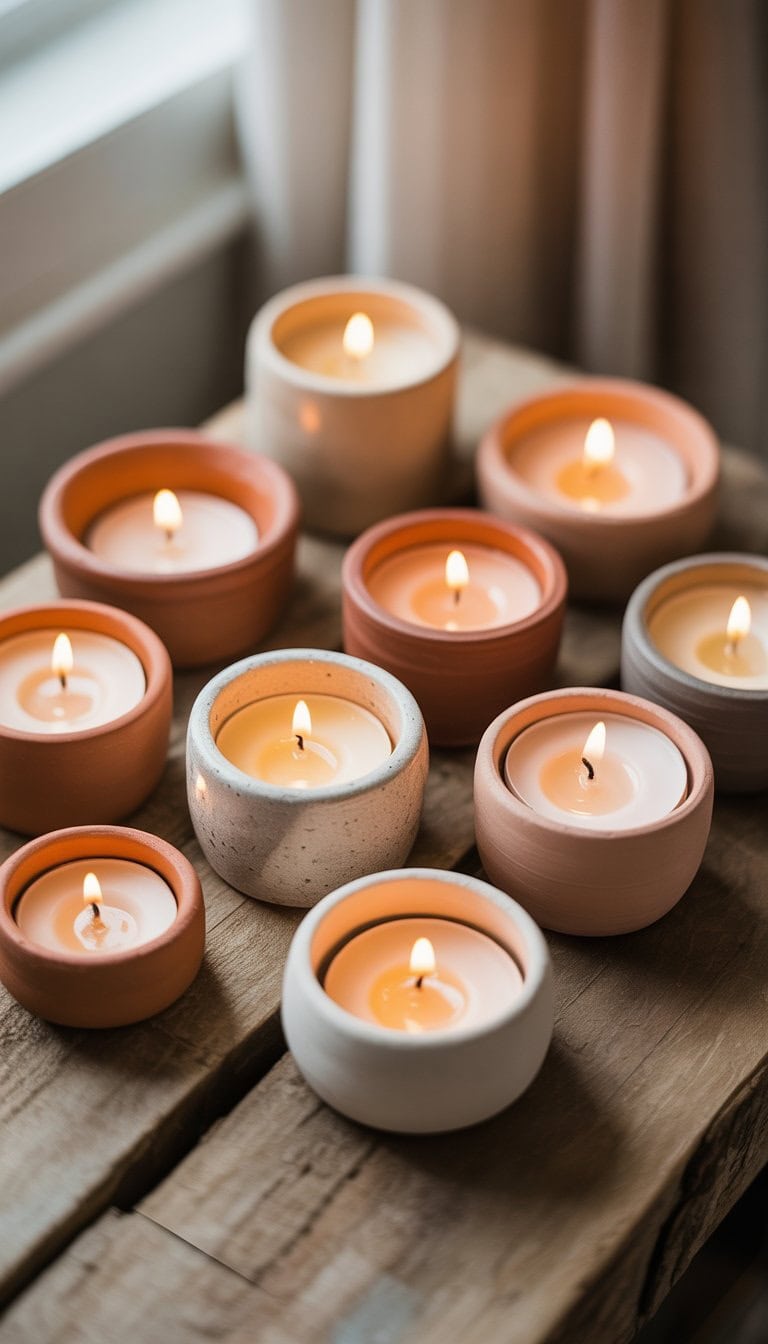
Clay Candle Holders
I love making clay candle holders because they add a cozy touch to any room. It’s easy to shape them by hand, and I get to play around with different styles. Sometimes I make little pumpkins or ghosts for Halloween, or just simple round shapes for everyday use.
I enjoy using air dry clay or polymer clay since both are easy to find. After shaping my holder, I let it dry or bake it if needed. I’ve even found quick tutorials where you can finish a beautiful holder in minutes, like this clay candle holder tutorial. It’s a fun way to make decor that feels personal.
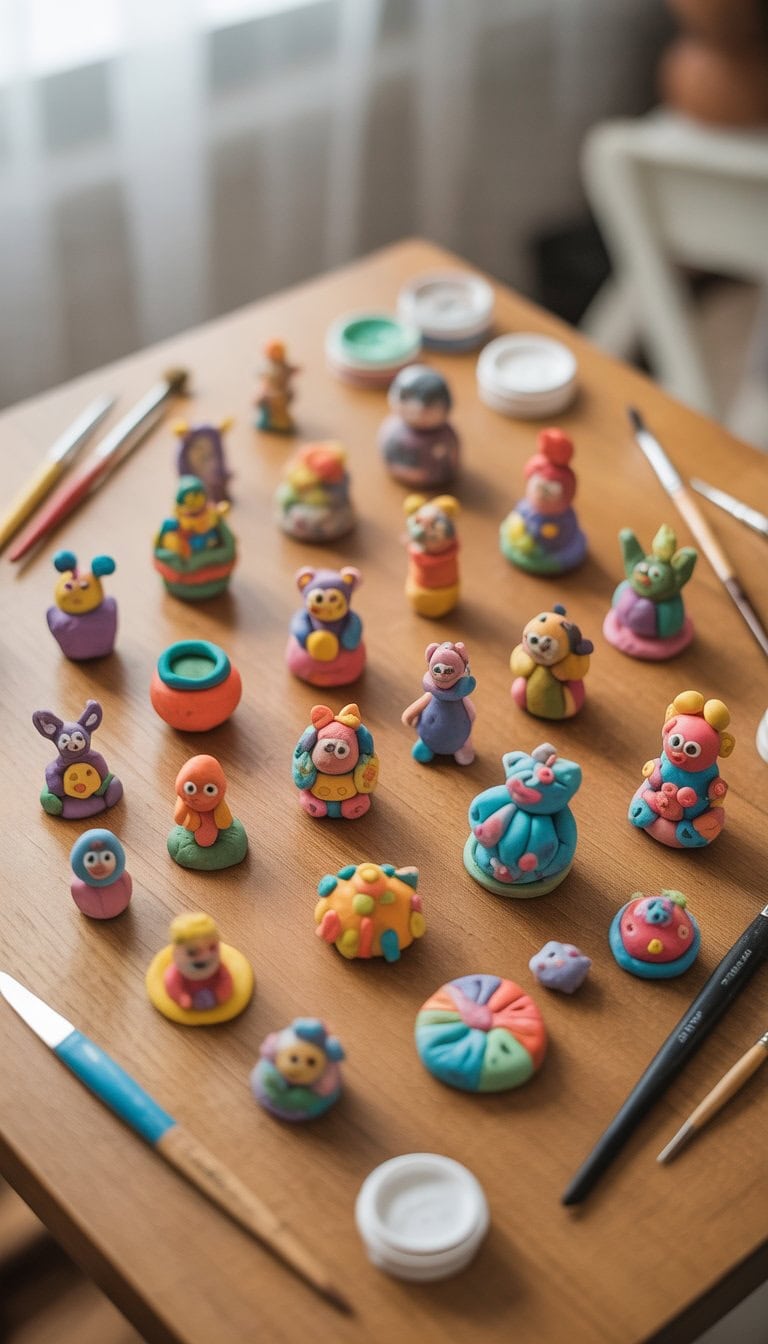
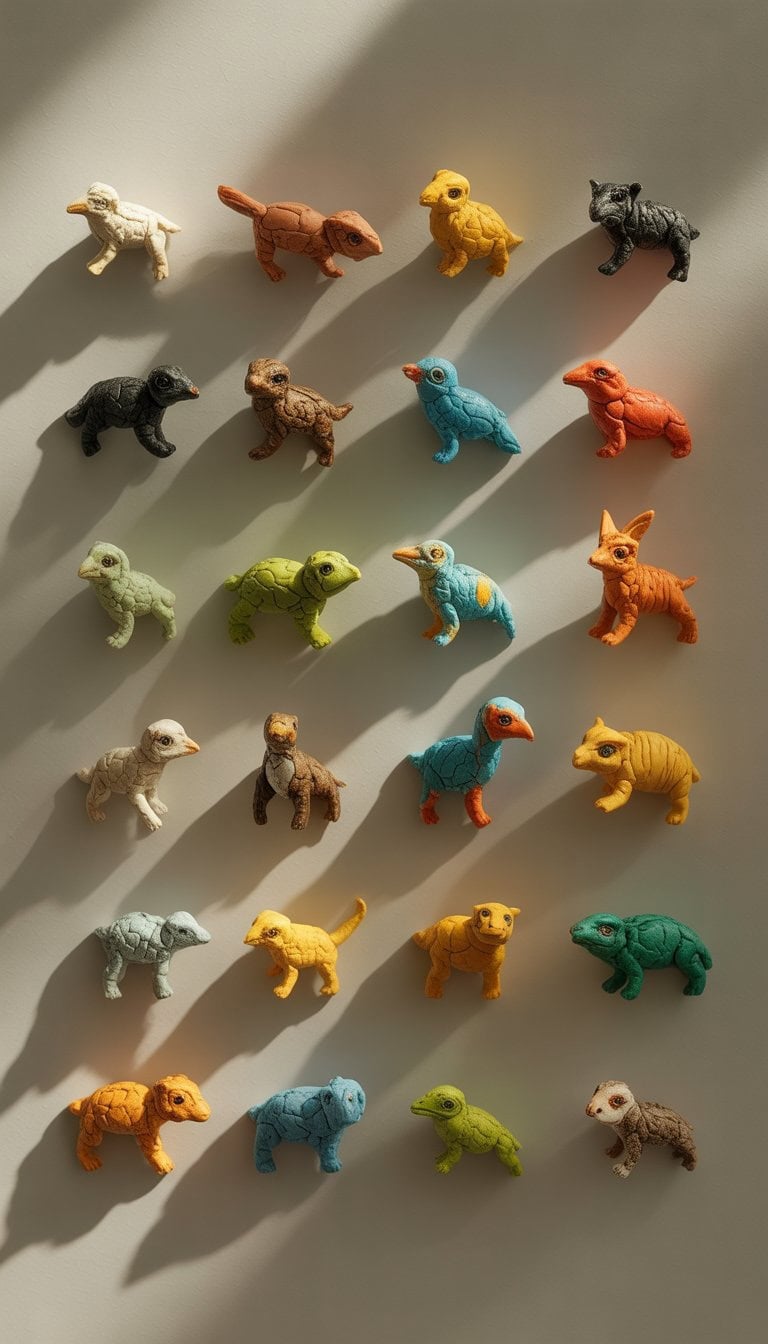
Tiny Animal Sculptures
I love making tiny animal sculptures out of clay. It gives me the chance to explore different animal shapes and details on a small scale. Sometimes, I try to capture a real animal, while other times I use my imagination for unique features.
Working with clay helps me relax and express my creativity. Every tiny animal feels like a piece of art to me. I often get new ideas when I look at different artists’ miniature animals, like the ones shared on Bored Panda.
Small sculptures are also easy to display or give as gifts. I find a lot of joy shaping these tiny creatures by hand.
Miniature Planters
I love making miniature planters with clay because they are quick and easy to shape. These tiny pots are perfect for small plants like succulents or cacti. I get creative with different shapes and colors to match my space.
Sometimes I use air-dry clay, but baking clay works too if I need something stronger. It’s fun to decorate them with paint or little details. I’ve learned that small clay planters add a simple charm to any shelf.
If you want more ideas, check out these miniature clay planter projects for inspiration. Making mini planters always brings a bit of nature indoors.
Air Dry Clay Magnets
I love making air dry clay magnets because they’re simple, fun, and let me get as creative as I want. I can shape the clay into fruit, animals, or even tiny versions of my favorite foods.
After shaping, I let the pieces dry for a day or two. Painting adds a bright pop of color and brings each design to life.
Once the paint is dry, I stick small magnets to the back with strong glue. I often get unique ideas by browsing clay magnet tutorials online. These magnets look cute on my fridge and hold up my favorite notes and photos.
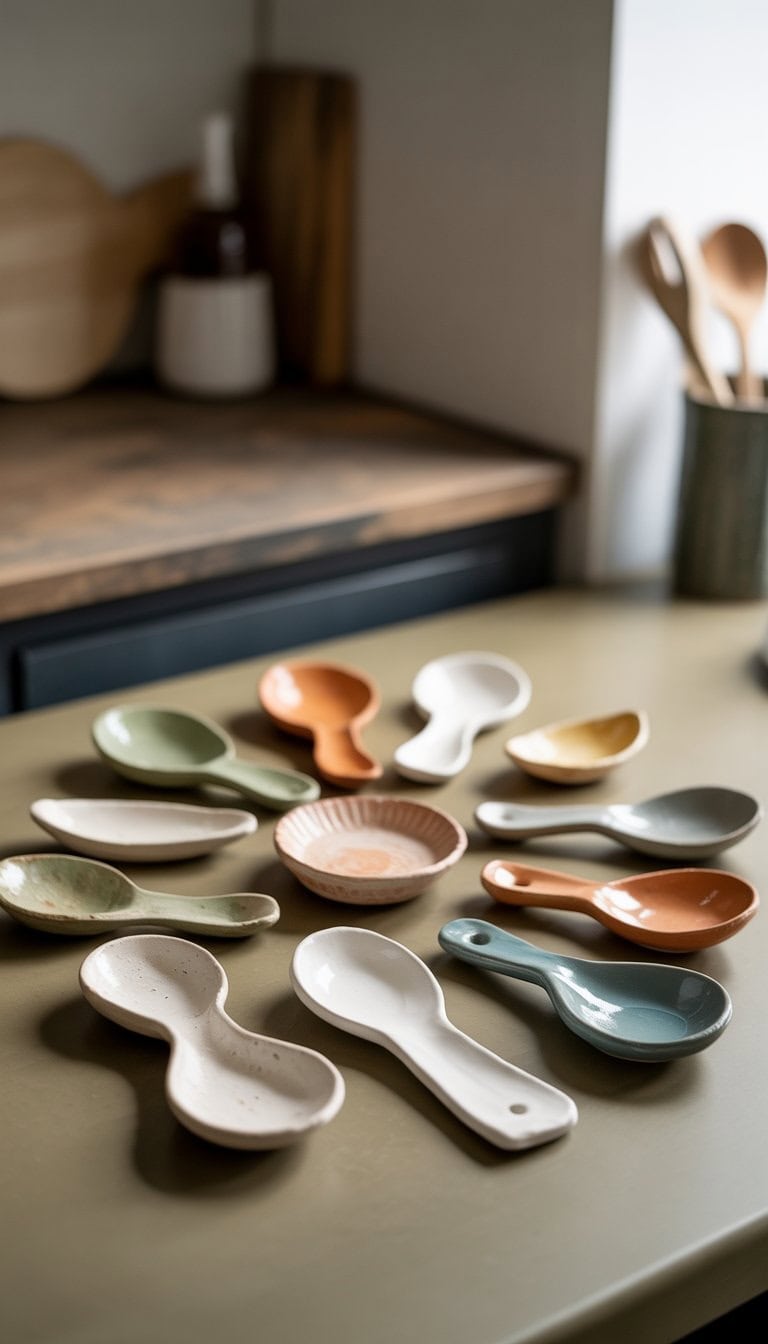
Handbuilt Ceramic Spoon Rests
I love making handbuilt ceramic spoon rests because they are simple and very useful. I can use a slab of clay and shape it by hand. Sometimes I press leaves or stamps into the clay for decoration.
Air dry clay works if you don’t have a kiln. I watched a video tutorial on YouTube that shows step-by-step how to make one easily. There are many shapes to try, from round and square to wavy edges.
Every spoon rest I make looks a little different, and that’s my favorite part. I can even paint or glaze them in my favorite colors.
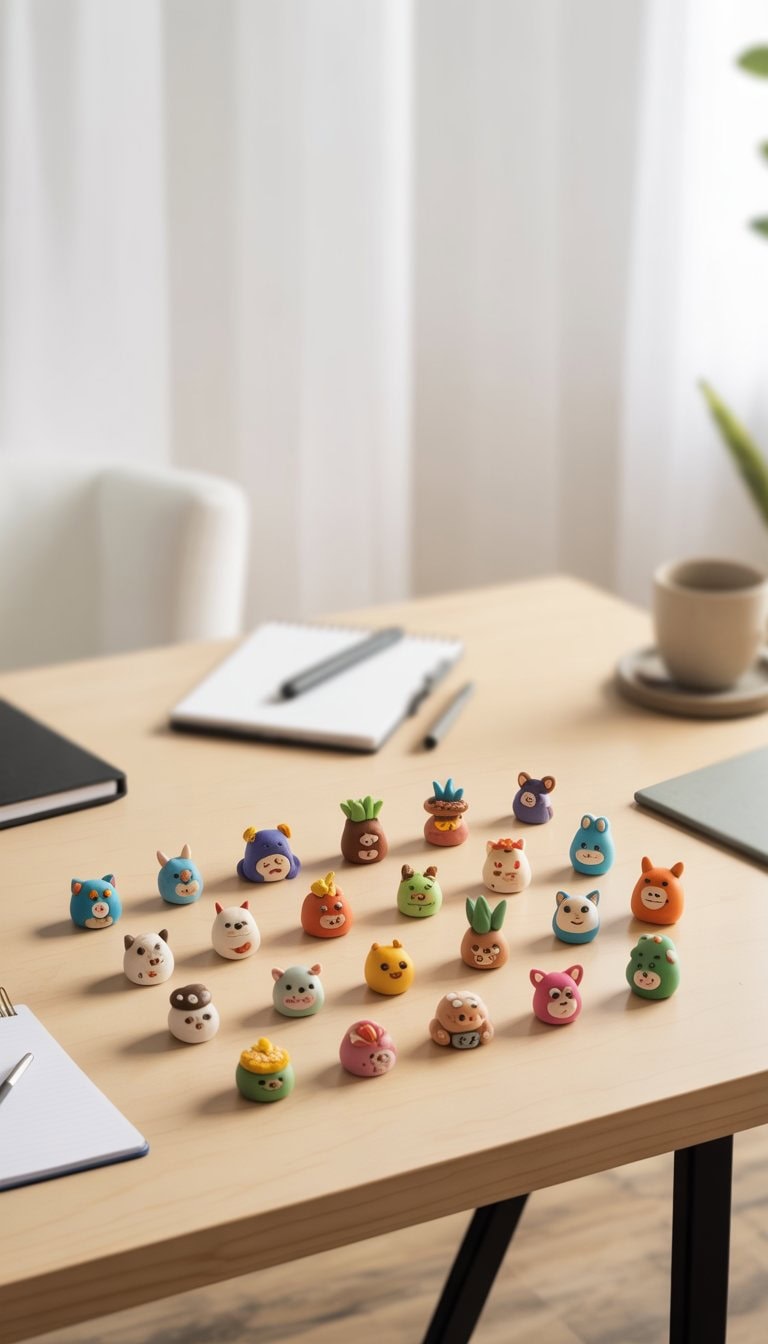
Polymer Clay Desk Buddies
I love making polymer clay desk buddies because they bring a bit of fun to any workspace. These small figures can hold pens, sticky notes, or even just make you smile.
When I shape a cute animal or a funny creature, I think about what might cheer me up during a busy day. Sometimes I try making little birds or simple animals, as seen in different desk buddy ideas.
They don’t take much clay or time, and I don’t need fancy skills to get started. I like to experiment with colors or give each buddy a different expression.
Clay Calendar Art
I love turning simple materials into useful art, and making a clay calendar is one of my favorite projects. It lets me get creative with shapes, colors, and numbers.
I start by rolling out air dry clay and cutting it into squares or rectangles for each day. After letting them dry, I paint fun designs and numbers on each piece.
Arranging the finished pieces on a board or hanging them with string feels so rewarding. Seeing my handmade calendar brightens up my desk and keeps me organized. For more ideas, I check out making a calendar out of clay.
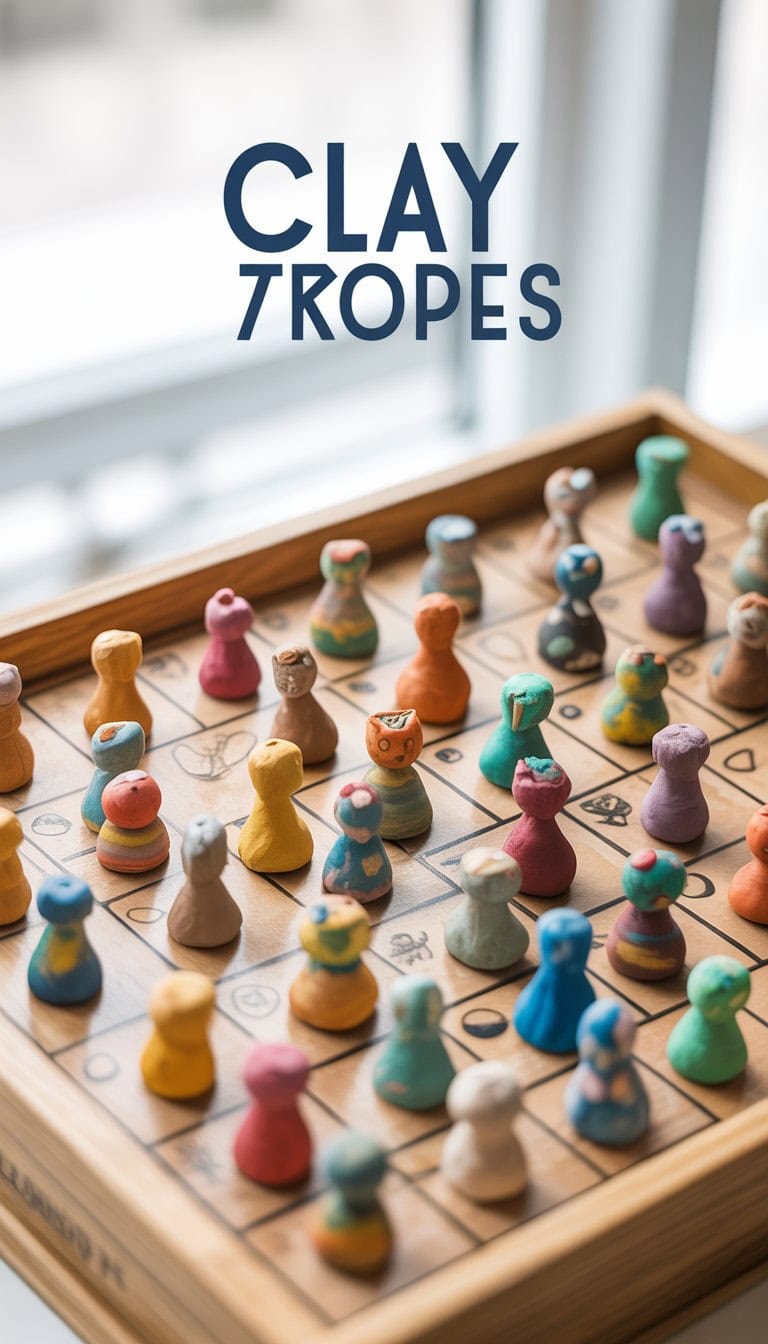
Clay Game Pieces with Board
I love making tiny clay game pieces and matching boards. It’s a fun way for me to combine my love for art and games. I start by shaping simple pieces like pawns, dice, or tokens.
Sometimes, I use bright colors or even carve cute designs. The board can be a simple flat slab or have painted lines for tic-tac-toe and checkers. I get inspired by ideas I’ve seen online, like the ones people share for polymer clay board games.
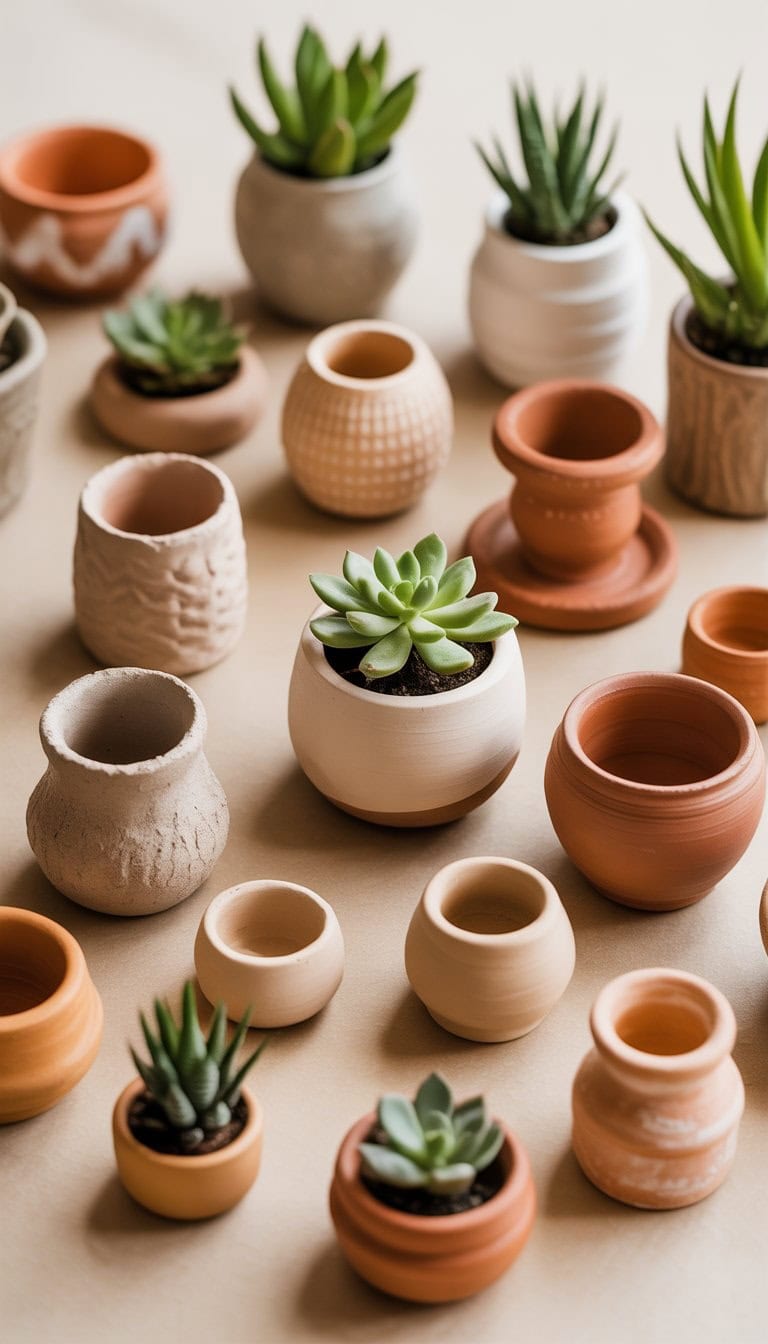
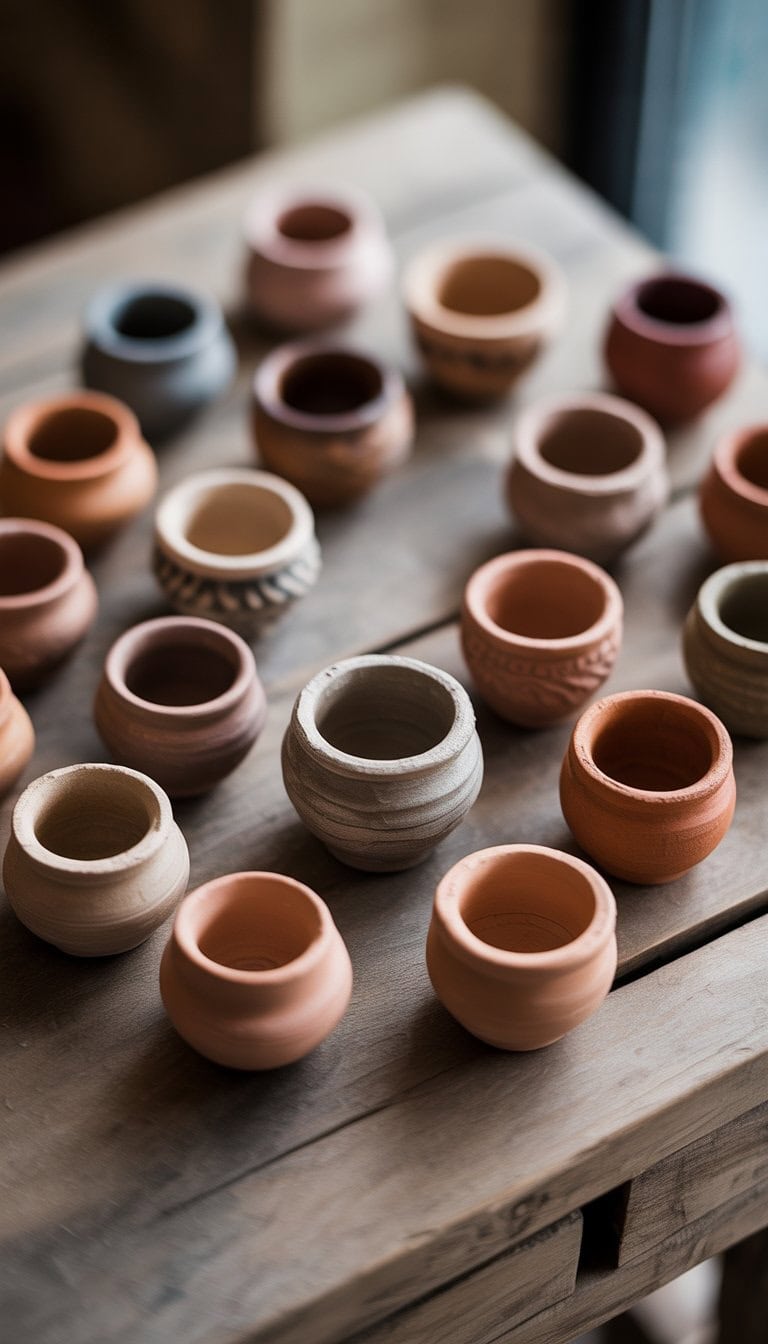
Mini Clay Pots
I love making mini clay pots because they’re simple and really fun to decorate. These small pots are great for holding little plants, tiny succulents, or even just as a cute decoration on my desk.
I like to paint each pot with different colors or patterns. It’s relaxing and lets me get creative without needing a lot of time or materials.
Sometimes, I stack a few together to make a unique display. If you need some creative inspiration, you can find amazing ideas for small pots on Pinterest with lots of clay pot crafts to try at home.
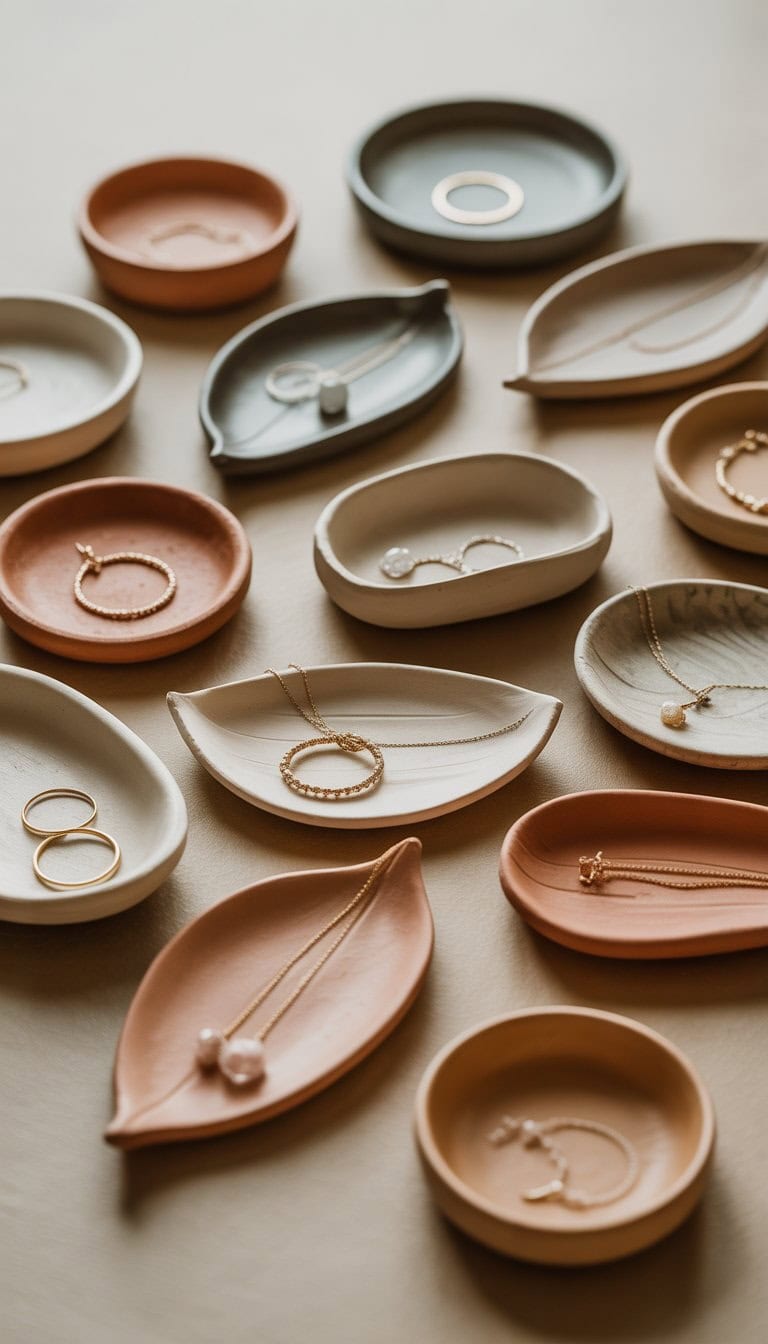
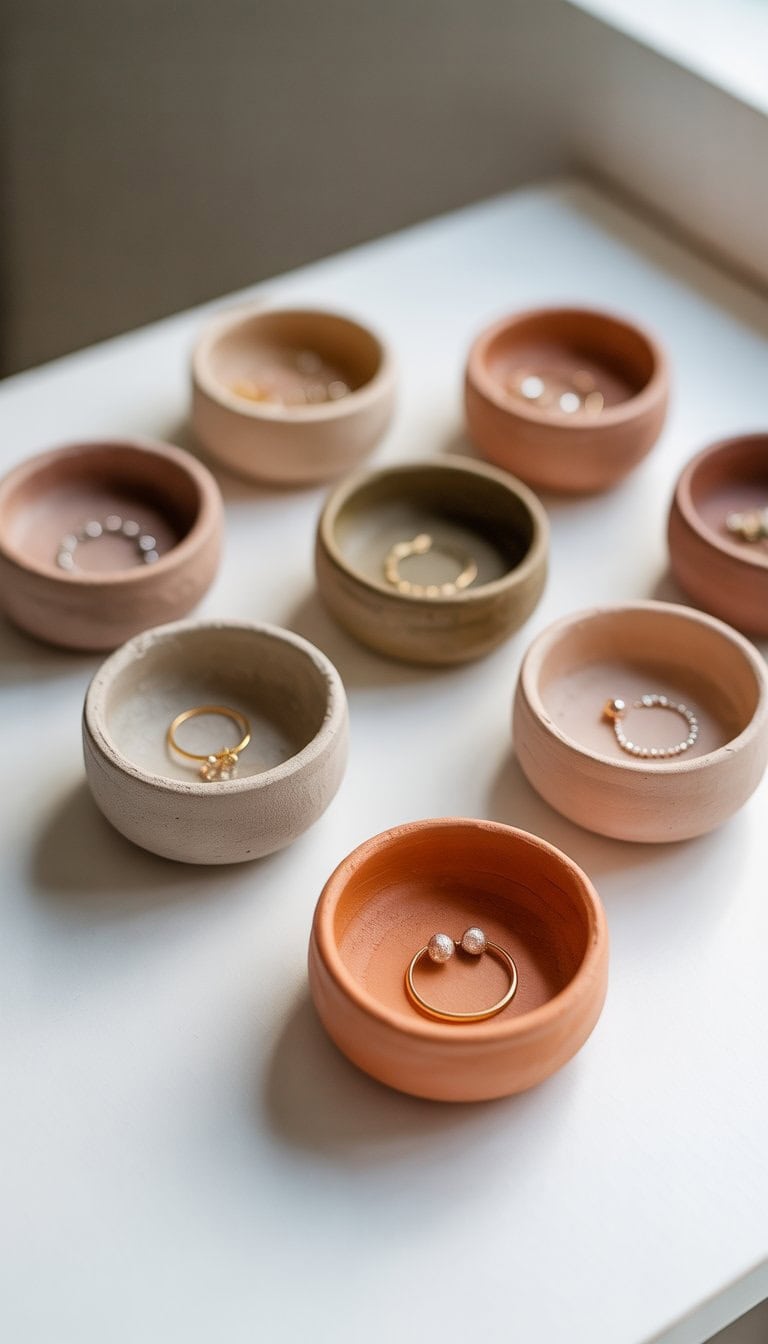
Clay Jewelry Dishes
I love making clay jewelry dishes because they add a personal touch to my nightstand or dresser. With just a bit of air dry or polymer clay, I can create a dish in any shape or color I want.
Sometimes I follow simple marbling techniques I pick up from guides like this marbled clay ring dish tutorial. Other times, I get creative and add tiny details or designs.
These dishes aren’t just pretty—they also keep my rings and earrings in one place. I always end up making extras as gifts for friends or family since they are so easy and fun to customize.
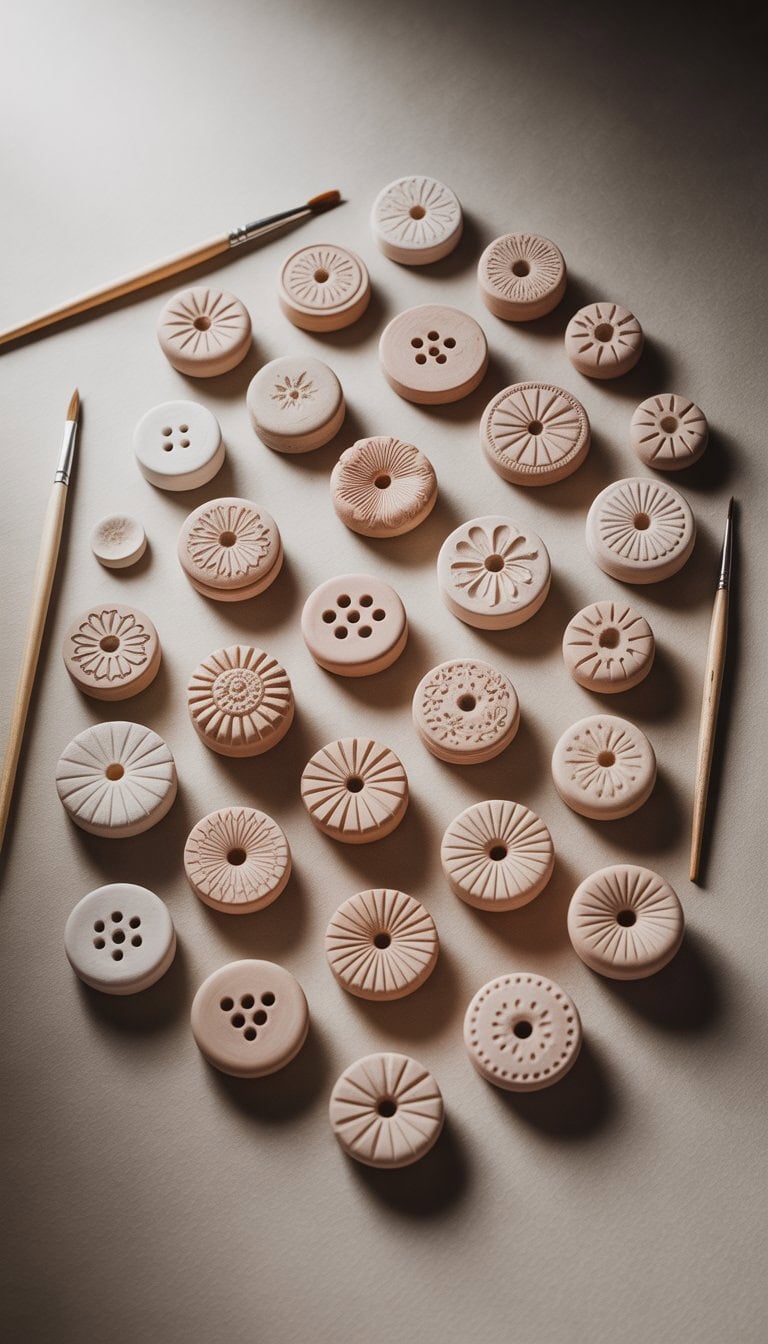
Clay Button Sets
I love making clay button sets because they give me a lot of creative freedom. I can choose fun shapes, textures, and even add colors that match my style. Each button can be unique, or I can make a matching set for a sweater or bag.
When I use polymer clay, it’s easy to shape and bake the buttons right at home. Sometimes I get inspiration from projects I’ve seen, like these buttons in clay ideas.
These little buttons add a personal touch to my clothes or crafts. Even a simple shirt feels special with handmade buttons.
Decorative Clay Pendants
I love making decorative clay pendants because they allow me to get creative with shapes and colors. These pendants are small and easy to mold, so I can try out new designs without a lot of pressure.
Air dry or polymer clay both work well for this project. Sometimes I add pressed flowers or tiny beads to my clay before it dries.
After baking or drying the clay, I paint or glaze the pendants for a unique look. I like to use them on necklaces or keychains. For more inspiration, I check out other fun ideas for clay jewelry and crafts at Pillar Box Blue.
Clay Coasters with Imprints
I enjoy making clay coasters because they are both useful and creative. Every time I start, I like to roll out a slab of air-dry clay. It’s easy to shape and fun to experiment with.
To add personality, I press flowers, leaves, or textured tools onto the surface. This gives each coaster a special pattern.
After pressing the designs, I cut them into circles or squares. I let them dry before sealing the coasters so they last longer. For step-by-step details, I often look at guides like this on handmade coasters with clay.
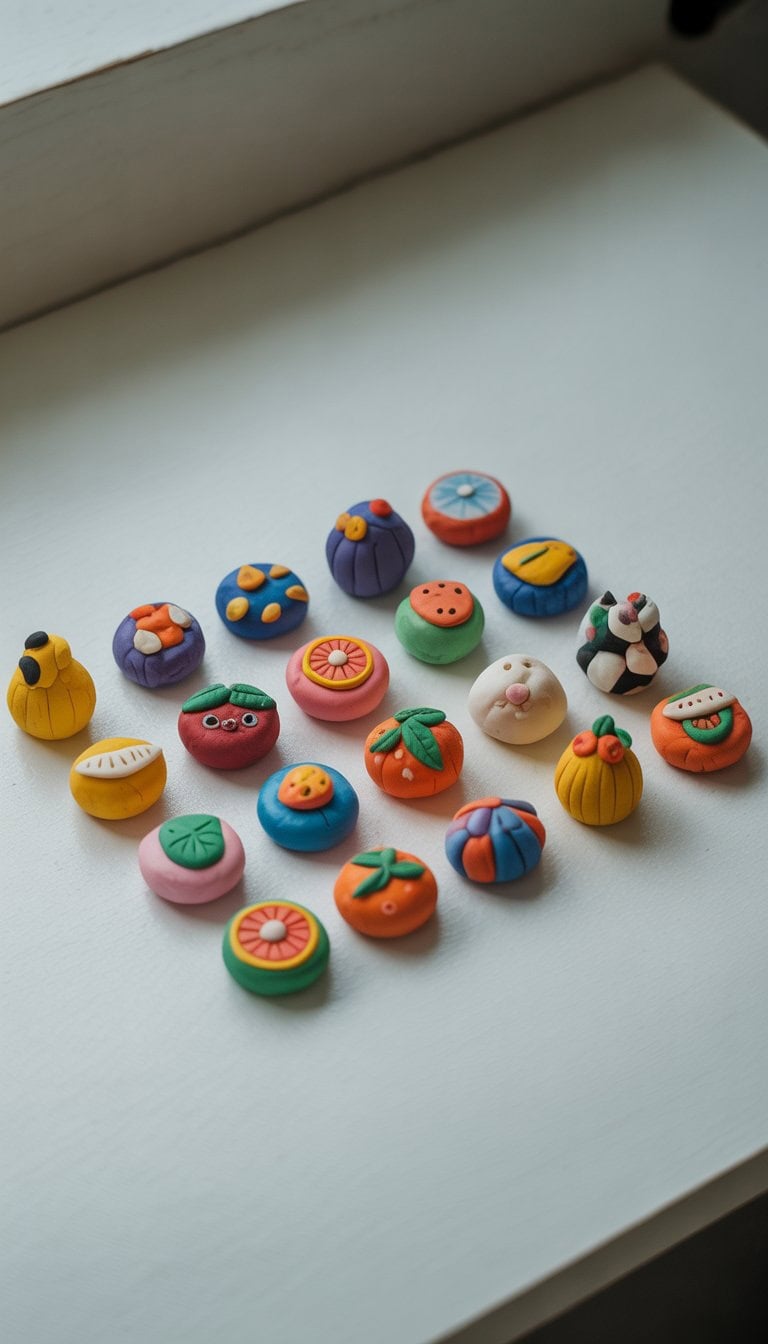
Tiny Clay Figurines
I love making tiny clay figurines. They are simple, fun, and do not take much time. For beginners, starting with animals or food shapes can be rewarding.
Sometimes I make little charms for necklaces or keychains. It’s amazing how much detail I can add with just a toothpick or a needle.
When I need inspiration, I check out collections of small clay figures. Seeing so many creative ideas helps me come up with my own designs. Small clay projects are perfect for quick bursts of creativity.
Clay Nameplate Keychains
I love making clay nameplate keychains because they’re personal and unique. I can shape the clay by hand, roll it out, and use alphabet stamps or a toothpick to spell out any name.
After letting it dry, I add a jump ring and attach it to a keyring. Sometimes, I paint the letters for a fun pop of color. These are perfect as little gifts, and they don’t take much time.
If you want some inspiration or a step-by-step guide, check out this easy DIY tutorial for clay keychains. Making these keychains always feels rewarding and fun.
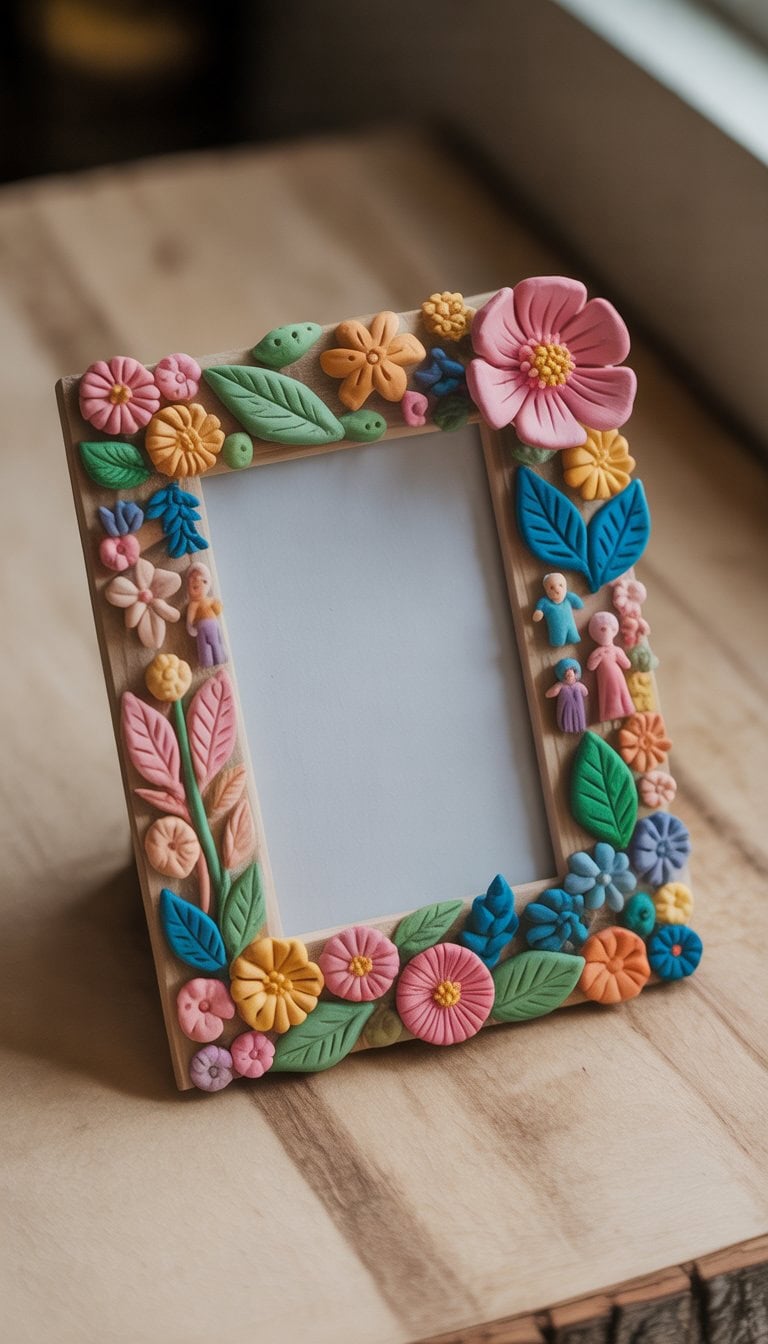
Clay Photo Frame Embellishments
I love making photo frames special by adding my own clay decorations. Using air-dry clay or polymer clay, I can make small shapes like hearts, flowers, or stars.
Sometimes, I roll tiny balls or twist clay strips for borders. It’s fun to experiment with different patterns and textures. Painting the clay shapes after drying gives each frame a unique look.
Whenever I need inspiration, I check out creative frame ideas on places like Pinterest and TikTok. These ideas help me come up with new ways to decorate frames that match my photos.
Mini Clay Bowls for Jewelry
I love making mini clay bowls for my necklaces, rings, and loose charms. They’re small, simple, and perfect for catching tiny pieces that get lost easily.
Air dry or oven-bake clays both work really well. I can roll out a ball, press it flat, and shape it into a shallow bowl with my hands. Decorating is my favorite part—I use paint, stamps, or even marbling techniques from this marbled clay ring dish tutorial.
These little bowls also make wonderful handmade gifts. They brighten up a vanity or bedside table without taking up much space.
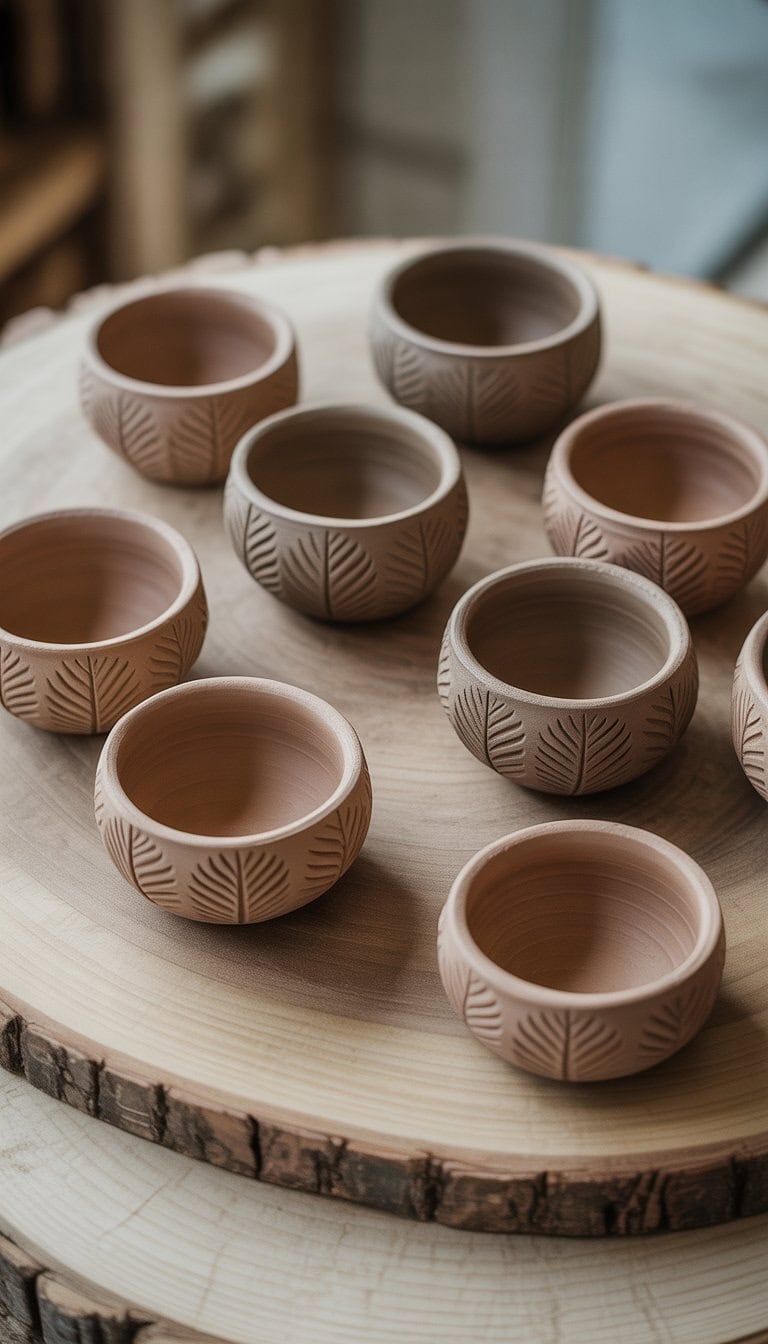
Clay Leaf Embossed Bowls
I love making clay leaf embossed bowls because they capture the beautiful details of real leaves. Each bowl turns out a little different, and that’s what makes them special to me. I press a leaf into a rolled-out piece of air dry clay or oven-baked clay, then shape the clay inside a small bowl.
Once the clay dries, the leaf’s veins and edges stand out in the finished piece. I sometimes add paint or glaze, but even plain, these bowls look great. They’re perfect for holding tiny jewelry or trinkets and make thoughtful handmade gifts. You can see more ideas for these bowls at this clay craft guide.
Essential Tools And Materials For Small Clay Projects
Getting started with clay is much easier when I have the right materials and tools. Picking the perfect clay, the proper sculpting tools, and a comfortable workspace helps every project go smoothly and lets me focus on creativity.
Choosing The Right Clay Types
There are a few main types of clay I use for small projects:
Air dry clay is simple and mess-free. It dries at room temperature and doesn’t need baking, making it great for beginners.
Polymer clay hardens in a home oven. It comes in lots of colors and is perfect for details like jewelry or little figurines. Some of my favorite polymer clay ideas can be found at Sculpey.
Ceramic clay needs kiln firing. It’s best if I want something more permanent or plan to glaze my work.
Choosing the right clay depends on what I want to make, my experience level, and what tools I already have.
Must-Have Sculpting Tools
For most small clay projects, I rely on a few basics. I always keep these tools on hand:
Tool
Use
Rolling pin
Flattens clay
Craft knife/X-acto
Cuts detailed shapes
Dotting tools
Adds texture and patterns
Needle tool
Carves lines or holes
Clay blades
Slices cleanly through pieces
Sandpaper
Smooths rough spots
To keep things simple, I sometimes use household items too. Toothpicks, old pens, or even the edges of plastic cards can help shape and texture without fancy supplies.
I make sure my workspace is bright, comfortable, and protected with a mat or wax paper. Good lighting is important so I can see all the tiny details.
Keeping my tools organized saves time. I use jars or small trays for my tools so I don’t lose anything. Ventilation matters if I’m baking polymer clay, so I always crack a window or use a fan when I’m using my oven.
A small table or desk is enough for most of my projects. If I’m working on air dry or polymer clay crafts, the key is a clean, clutter-free area where creativity can flow.
Creative Techniques To Elevate Your Clay Projects
When I want my clay creations to stand out, I focus on both the look and feel of the piece. Small changes in texture or adding color can really transform even the simplest project into something unique.
Mastering Texture And Pattern
I love experimenting with texture because it’s one of the easiest ways to make a clay piece interesting. By pressing common objects like lace, buttons, or even leaves into the clay, I can create detailed surfaces that catch the light.
Sometimes, I use clay tools to carve lines, dots, or even simple shapes. Rolling pins with raised patterns or rubber stamps add repeating designs with very little effort. Here’s a quick list of tools I reach for:
Textured rolling pins
Rubber stamps
Toothpicks and skewers
Natural objects (like shells or leaves)
After adding texture, I often highlight raised areas with a dry brush of paint or rub-on metallic powders. This makes every detail pop without much extra work. For more inspiration, projects like slab fish and small slab bowls on Look Between the Lines show how creative textures can bring a simple project to life.
Adding Color With Glazes And Paints
Adding color is my favorite step because it changes the mood and style of a piece so easily. I use underglazes for a solid, even color, or I sponge on glazes for a softer, blended effect. Acrylic paints also work well on air-dry clay and polymer clay once they have cured.
I usually test colors on a scrap piece first, as glazes can look different before they’re fired. Layering colors gives depth, especially when I let the base coat show through in spots. For more creative ideas, I sometimes try painting patterns or using metallic paints to give a modern finish.
Some projects, like jewelry or home décor, can really shine with bright colors or glossy finishes. Best polymer clay ideas show examples of how the right glaze or paint can change a simple charm or bowl into a bold piece. Experimenting with color is fun and always gives me new ideas for my next project.
Frequently Asked Questions
I love sharing easy ideas for making and decorating with clay. It’s fun to blend creativity and purpose, even if all you have is a small amount of clay.
What simple figurines can beginners craft with clay?
If you’re new, try making tiny animals, food shapes like strawberries, or cute mini pumpkins. Small ghosts and basic leaf shapes are also perfect when you’re just starting. These little designs are easy to shape and paint, and they don’t need a lot of clay.
How can I create functional art with small amounts of clay?
I like turning scraps of clay into trinket dishes, name tags, or even incense holders. For holidays, I make snowflake ornaments to hang around the house. Even a mini clay bowl can hold jewelry or coins and look stylish on a dresser.
Which beginner-friendly techniques are best for creating small clay projects?
I often start with simple rolling and pinching techniques. Rolling clay into balls and snakes or pressing it flat with your hands is very easy. Mold the shapes with your fingers, then use a toothpick or a butter knife to add some small details.
What are some creative uses for leftover clay from other projects?
With small bits of leftover clay, I love making mini shapes like stars, hearts, or letters to use as decoration on bigger projects. I also save them for testing out paints and glazes. Sometimes, I squish them together for a marbled effect and turn them into beads.
How can someone personalize clay projects for home decor?
I add details by carving or stamping names and dates onto projects. Pressing real leaves into clay creates beautiful textures for leaf trinket dishes. Using different colors or finishes can match your decor style, and painting adds personality.
Can you recommend any eco-friendly clays for crafting small projects?
I like using air dry clays that are labeled non-toxic and natural. Some brands offer recycled or biodegradable options now. Polymer clay can be found in eco-friendlier formulas, but always check the label or company’s website for environmental details before you buy.